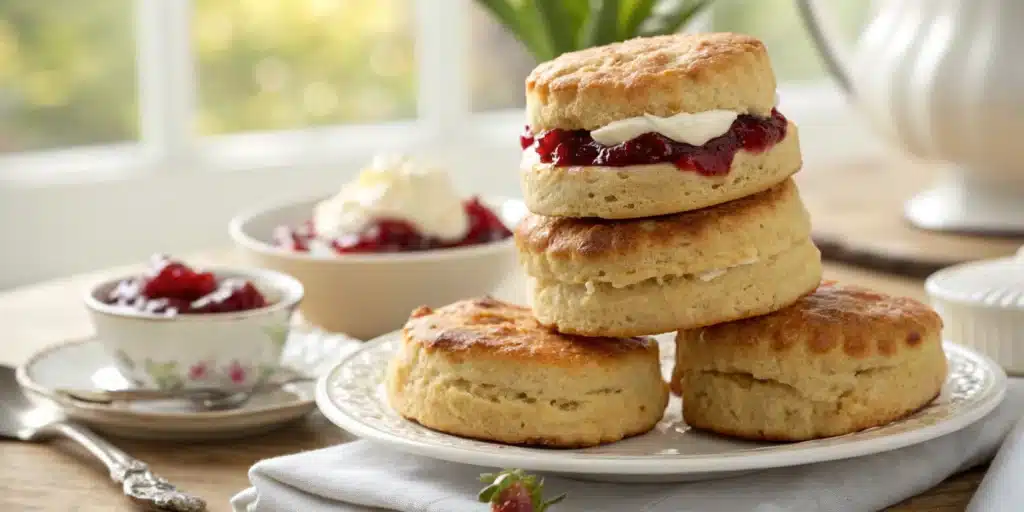
There is nothing quite like a proper British cream tea.
However, finding decent gluten free scones is usually a disaster. They are either rock-hard pucks that could break a window, or they crumble into sand the moment you look at them.
Table of Contents
This recipe changes the narrative.
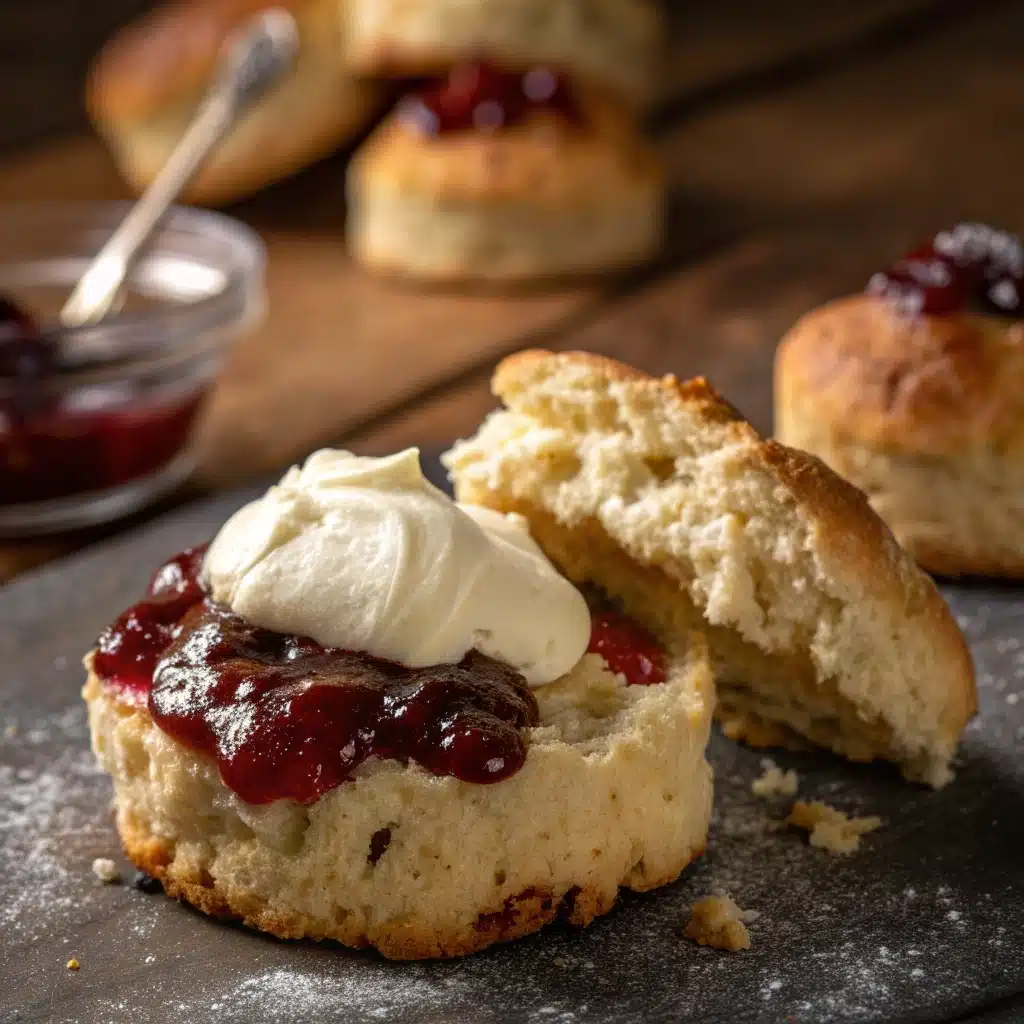
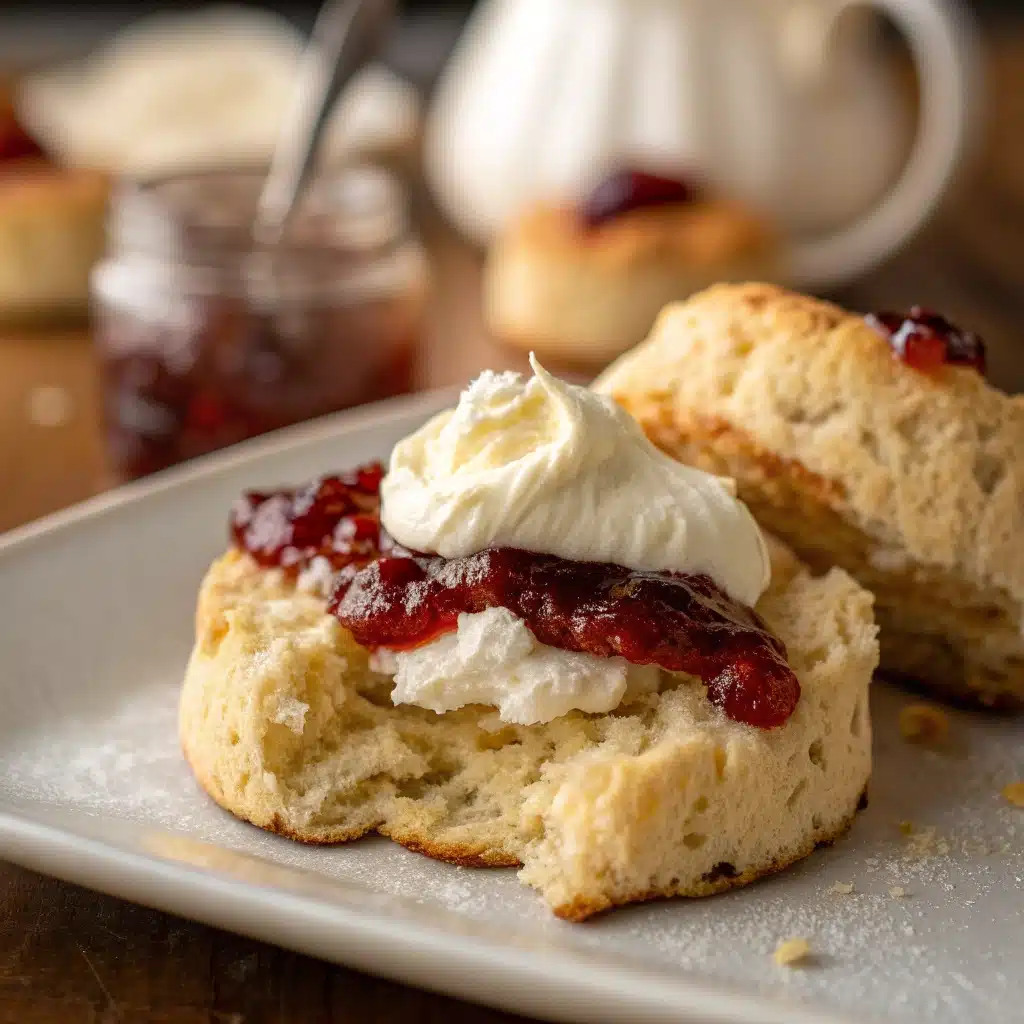
These gluten free scones are tall, golden, and incredibly light. They have that signature tender crumb that holds up perfectly to a thick dollop of clotted cream and strawberry jam.
A Little Story About This Dish
I spent years avoiding scones after my diagnosis. I missed the ritual of splitting them open while they were still warm.
My breakthrough came when I learned two secrets: warming the milk to create a “faux buttermilk” and preheating the baking tray.
The hot tray shocks the dough, forcing the gluten free scones to rise immediately before they have a chance to spread. It results in that beautiful, towering height that makes you want to dive right in.
Get Ready to Cook!
What to Expect:
This is a classic “rubbing-in” method. It is hands-on and messy in the best way. The process is fast—you can have these on the table in 30 minutes.
Before You Begin:
Preheat your baking tray! Put the lined tray in the oven now, while the oven heats up. This simple trick is the difference between a flat biscuit and a tall scone.
The Heart of the Dish: Ingredients You’ll Need
We rely on a mix of chemical leaveners (baking powder + self-raising flour) to give these gluten free scones maximum lift.
| Quantity | Ingredient | Note |
| 340 g (2.5 cups) | GF Self-Raising Flour | Blend must contain gum |
| 1 tsp | GF Baking Powder | Extra lift |
| 1/4 tsp | Xanthan Gum | Structural insurance |
| 85 g (2/3 cup – 1 tsp) | Butter | Cold cubes (or hard margarine) |
| 4 tbsp | Caster Sugar | Superfine sugar |
| 175 ml (3/4 cup – 1 tsp) | Milk | Dairy or dairy-free |
| 3 tsp | Lemon Juice | Acid to react with soda |
| 1 1/2 tsp | Vanilla Extract | For flavor |
| 1 | Egg | Beaten, for glazing |
Let’s Get Cooking! Step-by-Step Guide
Follow these specific steps to ensure your gluten free scones rise high and stay moist.
Phase 1: The “Buttermilk” & Dry Mix

1. Heat the tray
Preheat your oven to 220°C / 425°F (200°C fan). Line your baking sheet with parchment paper and place it inside the oven to get scorching hot.
2. Sour the milk
Warm your milk slightly (microwave for about 30 seconds—it should be lukewarm, not hot). Stir in the lemon juice and vanilla extract. Set it aside. It will curdle slightly; this is exactly what we want. It acts like buttermilk to tenderize the gluten free scones.
3. Rub in the butter
In a large bowl, combine the gluten-free self-raising flour, baking powder, and xanthan gum. Add the cubed butter. Using your fingertips, rub the butter into the flour until the mixture looks like fine breadcrumbs.
4. Add sweetness
Stir in the caster sugar until it is evenly distributed.
Phase 2: The Dough
5. Mix
Make a well in the center of the crumbs. Pour in the warm milk mixture. Use a metal spoon to mix it quickly. The dough will be sticky and shaggy.
6. Fold and Shape
Dust your work surface and your hands with extra gluten-free flour. Turn the dough out. Fold it over itself 2 or 3 times to smooth it out (this creates layers!).
Expert Tip: Pat the dough into a round disc that is thick—about 3.5cm to 4.5cm (1.5 inches). Do not roll them thin, or your gluten free scones will be flat.
Phase 3: Cut and Bake

7. Cut cleanly
Dip a 5cm (2-inch) round cutter into flour. Press straight down into the dough. Do not twist the cutter! Twisting seals the edges and stops the rise. Push the scone out gently. Gather scraps, re-pat, and cut again until the dough is used.
8. Glaze
Brush the tops of the scones with the beaten egg. Try not to let the egg drip down the sides, as this can glue the scone shut and prevent rising.
9. The Hot Tray Transfer
Carefully remove the hot tray from the oven. Place the scones onto the hot paper (you might hear a sizzle).
10. Bake
Bake for 12–15 minutes. They should be risen, golden brown on top, and sound hollow when tapped on the bottom. Serve warm!
Mastering the Dish: Pointers for Perfection & How to Store
Why the Hot Tray?
Gluten-free flour lacks the elastic structure of wheat. By hitting the dough with immediate heat from the bottom, we force the steam to push the scone upward instantly. It is the secret to bakery-style gluten free scones.
Handling the Dough
The dough will feel stickier than traditional scone dough. Do not be tempted to add too much extra flour, or they will be dry. Just flour your hands well and handle it gently.
Storage
These gluten free scones are best eaten fresh on the day they are made. However, they can be frozen once cooled. To eat, defrost and warm them in the oven for 5 minutes to refresh the crust.
Gluten Free Scones (Tall, Fluffy & Buttery)
- Total Time: 30
- Yield: 8 1x
- Diet: Gluten Free
Description
These Gluten Free Scones are tall, fluffy, and tender. By using a ‘hot tray’ method and a quick homemade buttermilk, you get bakery-quality results in 30 minutes.
Ingredients
340 g (2½ cups) gluten free self-raising flour
1 tsp gluten-free baking powder
1/4 tsp xanthan gum
85 g (2/3 cup minus 1 tsp) butter (cold, cubed) or hard margarine
4 tbsp caster superfine sugar
175 ml (¾ cup minus 1 tsp) milk (warm)
3 tsp lemon juice
1 1/2 tsp vanilla extract
1 egg (beaten, for glazing)
Instructions
1. Preheat oven to 220°C/425°F (200°C fan). Line a baking sheet with parchment paper and place it IN the oven to heat up.
2. Warm the milk slightly (lukewarm). Stir in lemon juice and vanilla. Set aside to curdle slightly.
3. In a large bowl, mix flour, baking powder, and xanthan gum. Add cubed butter and rub in with fingertips until it resembles breadcrumbs.
4. Stir in the caster sugar.
5. Make a well in the dry mix. Pour in the milk mixture. Mix with a metal spoon until a sticky dough forms.
6. Turn dough onto a floured surface. Fold it over 2-3 times to smooth it. Pat into a round disc about 3.5–4.5cm (1.5 inches) thick.
7. Dip a cutter in flour and press straight down (do not twist) to cut scones. Reshape scraps and repeat.
8. Brush tops with beaten egg (avoid dripping down sides).
9. Carefully remove the hot tray from the oven. Place scones onto the hot tray.
10. Bake for 12-15 minutes until golden and hollow sounding when tapped.
11. Serve warm.
Notes
**The Hot Tray:** Putting the scones onto a hot baking sheet gives them an immediate boost of heat, helping them rise taller.
**Don’t Twist:** When cutting, press straight down. Twisting seals the edges and stops the scone from rising.
**Dairy Free:** Use hard margarine and dairy-free milk. Glaze with almond milk instead of egg.
- Prep Time: 15
- Cook Time: 15
- Category: Baking
- Method: Oven
- Cuisine: British
Nutrition
- Serving Size: 1 scone
- Calories: 274
- Sugar: 8
- Sodium: 656
- Fat: 10
- Saturated Fat: 6
- Carbohydrates: 39
- Fiber: 1
- Protein: 6
- Cholesterol: 48
These recipes are a great way to introduce new tastes and ideas to your gluten-free meals:
- Flawless Gluten Free Blueberry Scones (A Foolproof Recipe)
- Cinnamon Roll Cookies (Vegan & Gluten-Free!)
- Gluten-Free Corn Muffins
Your Burning Questions Answered!
Can I make these dairy-free?
Yes. Use a hard margarine (like Stork block) instead of butter, and use a dairy-free milk like almond or soy. For the glaze, brush with milk instead of egg.
Why did my scones spread instead of rising?
This happens if the butter got too warm during the “rubbing in” phase, or if the oven wasn’t hot enough. Keep ingredients cold until the milk is added, and ensure that the oven is blazing hot!
What is the best way to serve them?
Tradition dictates the “Cream Tea” method: split the gluten free scones in half, and top with strawberry jam and a thick layer of clotted cream. (Or cream first, then jam, depending on where you are from!)
Dig In & Enjoy!
There is an immense satisfaction in pulling a tray of tall, golden gluten free scones out of the oven.
They look impressive, they smell divine, and most importantly, they taste real. Brew a pot of tea and enjoy.
I encourage you to follow me on Pinterest so you don’t miss any of my recent updates.