Table of Contents
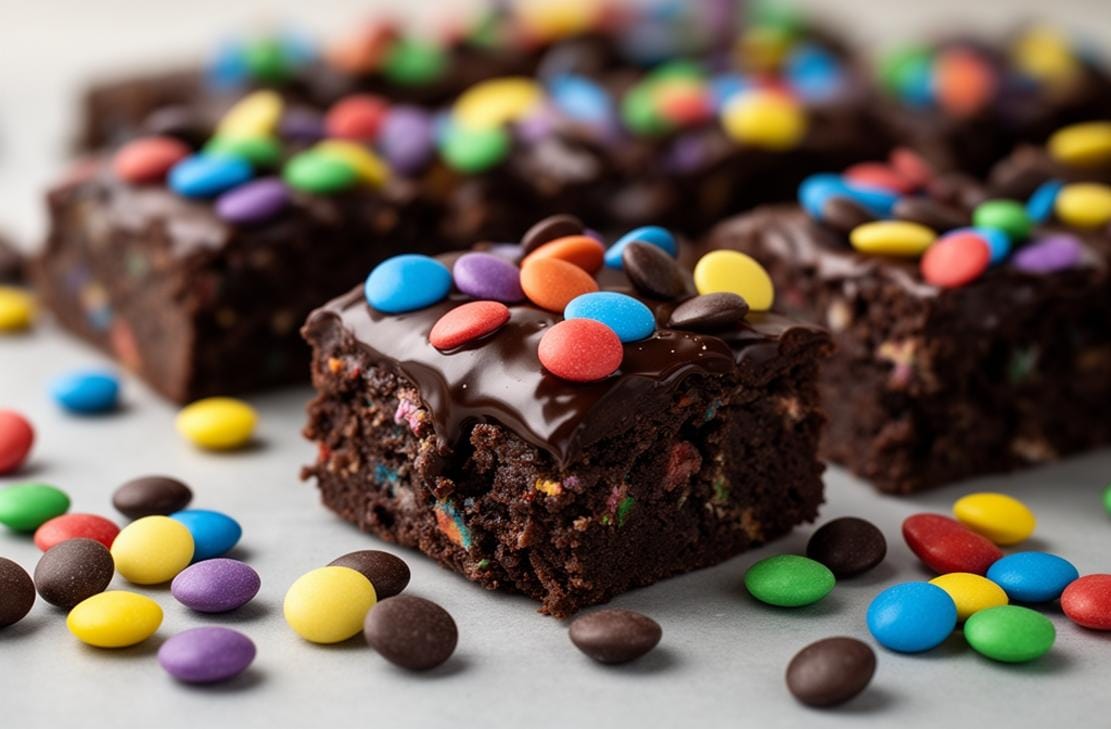
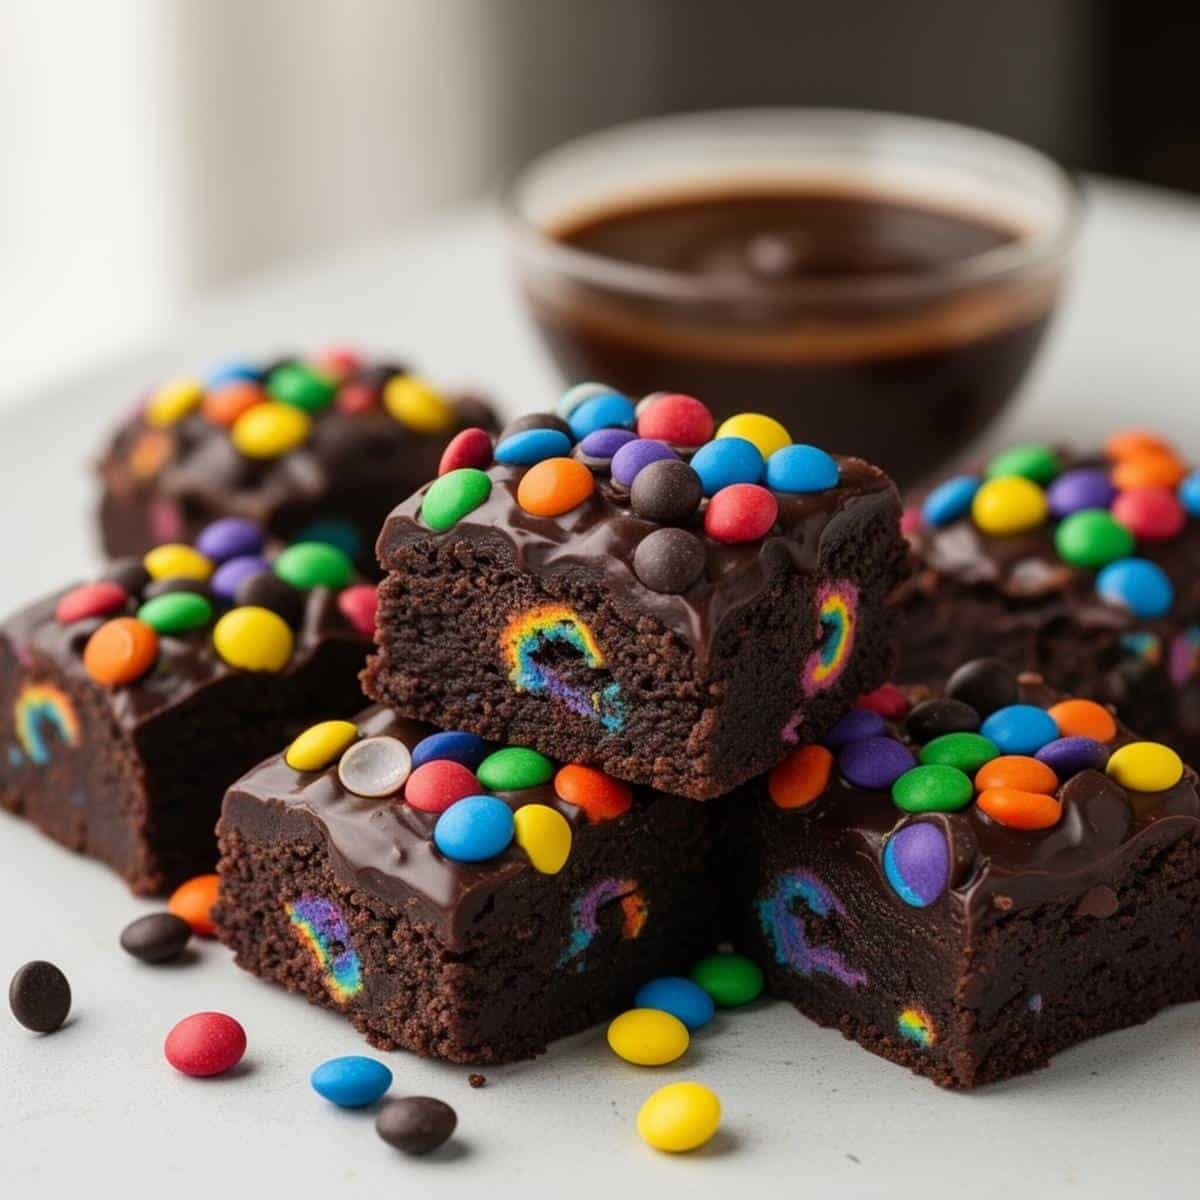
Indulge in these decadent No-bake Gluten Free cosmic brownies that are as easy to make as they are delicious. Perfect for satisfying your sweet tooth without the guilt!
I remember the first time I tried cosmic brownies—they were a childhood favorite. Now, with this gluten-free, no-bake version, I can enjoy them anytime without the hassle of baking.
Get ready to whip up a batch of these No-bake Gluten Free cosmic brownies that will impress everyone!
What to Expect
- Time: 20 minutes prep + 4 hours chilling
- Difficulty: Easy
Before You Begin
Make sure your medjool dates are soft and sticky. If they’re dry, soak them in hot water for 10 minutes before using.
Ingredients You’ll Need
| Brownie Layer | Quantity |
|---|---|
| Medjool dates, tightly packed | 2 cups |
| Almond flour | 1 1/2 cups |
| Raw walnuts | 1 cup |
| Cocoa powder (or cacao powder) | 1/2 cup |
| Vanilla extract | 1 tsp |
| Salt | 1/4 tsp |
| Chocolate Ganache | Quantity |
| Chocolate chips | 1 1/2 cups |
| Canned coconut cream | 2/3 cup |
| Maple syrup | 1 tbsp |
| Vanilla extract | 1 tsp |
| Rainbow candy coated chips | 1/4 cup |
Step-by-Step Guide
- Line a 9×9 square dish with parchment paper, leaving some paper hanging over the edges.
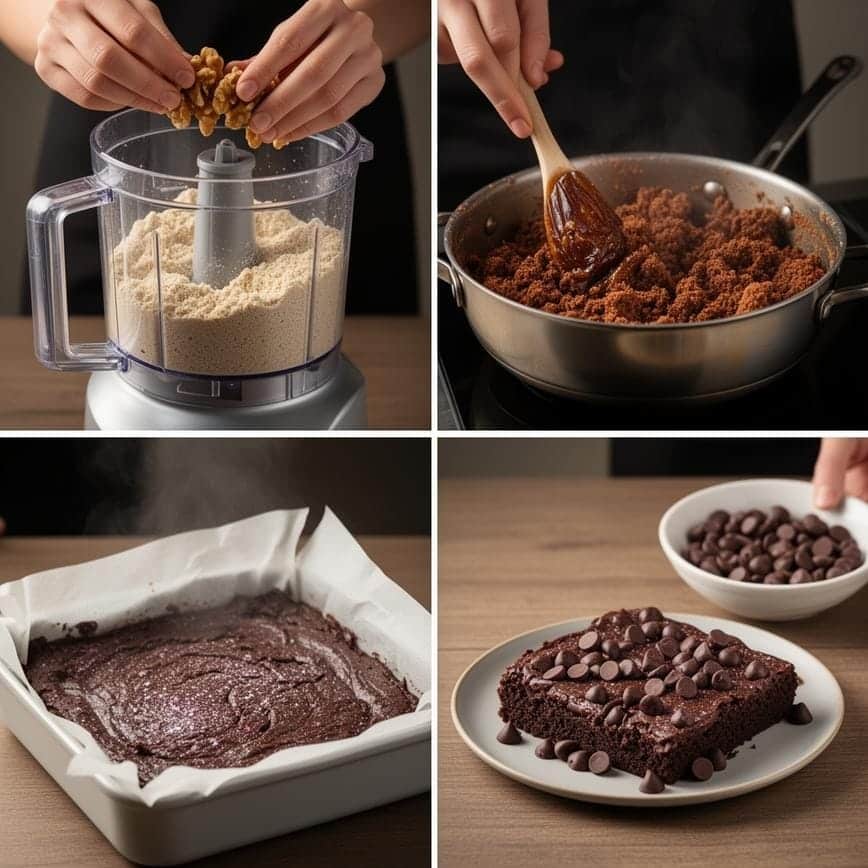
- In a food processor, blend almond flour, walnuts, cocoa powder, vanilla extract, and salt until the walnuts are crumbled into a flour-like consistency.
- Add the pitted medjool dates and blend again until a sticky dough forms.
- Transfer the brownie dough to the square dish and press it firmly into an even layer.
- In a bowl, combine chocolate chips, maple syrup, and vanilla extract. Set aside.
- Microwave the coconut cream for 1 minute 45 seconds, whisk, then pour 2/3 cup over the chocolate chips. Let sit for 1-2 minutes, then whisk until smooth.
- Pour the chocolate ganache over the brownie layer and spread evenly. Tap the dish to smooth it out.
- Sprinkle rainbow candy coated chips on top and chill in the refrigerator for 4 hours.
- Lift the parchment paper to remove the brownies, slice into 16 squares, and enjoy!
Pointers for Perfection & How to Store
For the best texture, use soft medjool dates and canned coconut cream. Store the brownies in a sealed container in the refrigerator for up to 1 week or freeze for up to 3 months. For another delicious gluten-free treat, try Flourless Gluten Free Cheesecake Brownies.
Print
No-bake Gluten Free cosmic brownies
- Total Time: 75
- Yield: 16 brownies 1x
- Diet: Gluten Free
Description
These No Bake Gluten Free Cosmic Brownies are the ultimate healthy copycat of the childhood favorite. Made with wholesome ingredients like almond flour, cashew butter, and maple syrup, they are incredibly dense, fudgy, and rich without requiring an oven. Topped with a silky 2-ingredient chocolate ganache and the signature rainbow candy chips, they are vegan, dairy-free, and gluten-free.
Ingredients
— The Brownie Base —
1 cup creamy cashew butter (or almond butter/peanut butter)
1/2 cup pure maple syrup
1 teaspoon vanilla extract
1/2 cup almond flour
1/3 cup unsweetened cocoa powder
2 tablespoons coconut flour
1/4 teaspoon salt
— The Ganache Topping —
1/2 cup semi-sweet or dark chocolate chips (dairy-free if needed)
2 tablespoons full-fat coconut milk (or heavy cream if not dairy-free)
2 tablespoons rainbow candy chips or sprinkles (for topping)
Instructions
1. Prepare Pan: Line an 8×8 inch square baking pan with parchment paper, leaving some overhang on the sides for easy removal.
2. Mix Wet Ingredients: In a large mixing bowl, whisk together the creamy cashew butter, maple syrup, and vanilla extract until smooth and well combined.
3. Add Dry Ingredients: Add the almond flour, cocoa powder, coconut flour, and salt. Stir with a spatula until a thick, uniform dough forms. (It will be dense like cookie dough).
4. Press Dough: Transfer the dough to the prepared baking pan. Use your hands or the back of a spatula to press it firmly into an even, flat layer.
5. Chill Base: Place the pan in the refrigerator for about 10–15 minutes while you prepare the ganache.
6. Make Ganache: In a small microwave-safe bowl, combine the chocolate chips and coconut milk. Microwave in 30-second intervals, stirring in between, until completely melted and smooth. (Alternatively, use a double boiler).
7. Top & Decorate: Pour the warm chocolate ganache over the chilled brownie base. Spread it out evenly with a spatula or knife. Immediately sprinkle the rainbow chips over the top so they stick.
8. Set: Return the pan to the refrigerator and chill for at least 1 hour, or until the chocolate topping is completely set and firm.
9. Slice: Lift the brownies out of the pan using the parchment paper overhang. Use a sharp knife to cut into 16 squares. Wipe the knife between cuts for clean edges.
Notes
Nut Butter: Cashew butter is recommended because it has a mild, creamy flavor that lets the chocolate shine. Peanut butter works but will give a strong peanut flavor.
Flour Substitutes: Do not swap the coconut flour for more almond flour directly, as coconut flour is much more absorbent and helps hold the no-bake texture together.
Storage: These brownies must be stored in the refrigerator to maintain their firm, fudgy texture. They keep for up to one week.
Candy Chips: To keep it strictly dairy-free/vegan, ensure your rainbow chips are compliant, or use mini chocolate chips instead.
- Prep Time: 15
- Category: Dessert
- Method: No Bake
- Cuisine: American
Nutrition
- Serving Size: 1 brownie
- Calories: 180
- Sugar: 12
- Sodium: 45
- Fat: 12
- Saturated Fat: 4
- Unsaturated Fat: 7
- Trans Fat: 0
- Carbohydrates: 16
- Fiber: 2
- Protein: 4
- Cholesterol: 0
Your Burning Questions Answered!
- Can I use regular cocoa powder?
- Yes, but cacao powder adds a richer flavor.
- How do I know if my dates are soft enough?
- They should be sticky and easy to blend. If not, soak them in hot water.
Can I substitute the rainbow chips?
Yes, but they add the classic cosmic brownie texture.
Dig In & Enjoy!
These No-bake Gluten Free cosmic brownies are a dream come true for anyone craving a sweet, fudgy treat without the fuss. Perfect for parties, snacks, or just because! For more delicious ideas, follow me on Pinterest.