Table of Contents
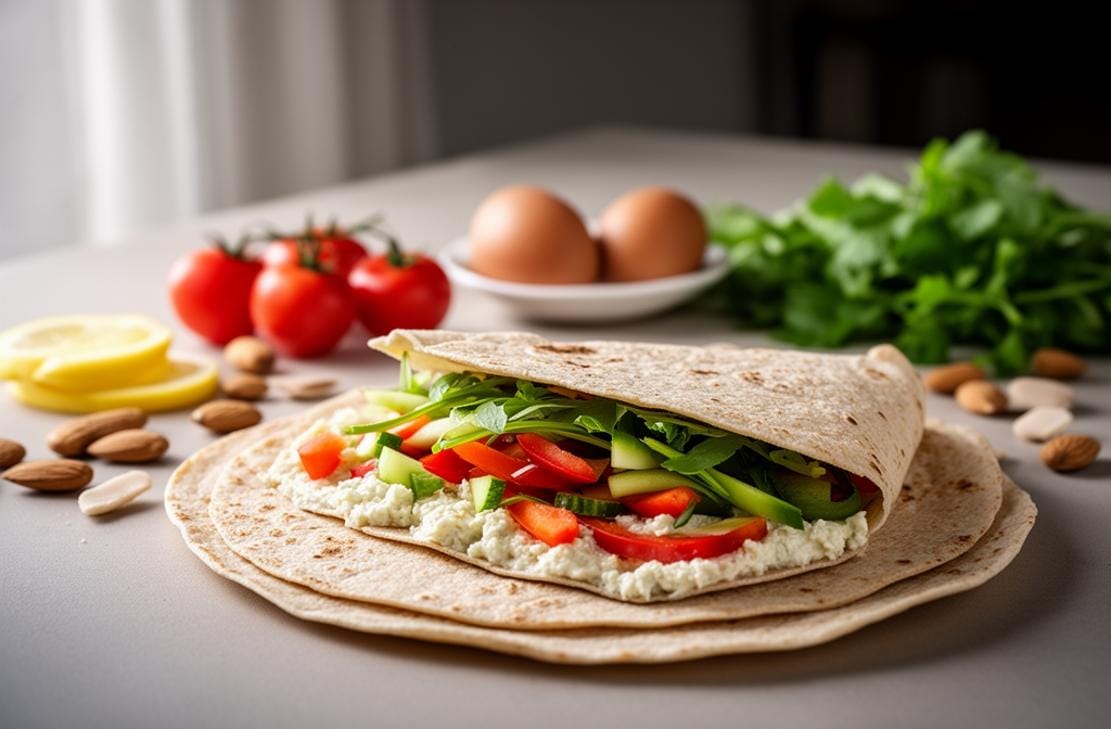
Discover the joy of homemade gluten free wraps with this simple and delicious recipe. Perfect for those avoiding gluten, these wraps are soft, flexible, and ready to be filled with your favorite ingredients.
I first tried making gluten free wraps when a close friend was diagnosed with celiac disease. I wanted to create something she could enjoy without worry. After a few trials, I found the perfect balance of ingredients that mimic traditional wraps beautifully.
Get ready to cook up a batch of these easy and tasty gluten free wraps!
What to Expect
- Time: Approximately 20 minutes
- Difficulty: Easy
Before You Begin
Ensure you have all your ingredients measured and ready. A clean, floured surface will help prevent the dough from sticking while rolling.
Ingredients You’ll Need
| Ingredient | Quantity |
|---|---|
| Mulino Caputo Fioreglut gluten free flour | 100g |
| Olive oil | 10ml |
| Water | 60ml |
| Fine salt (optional for flavour) | 0.5 tsp |
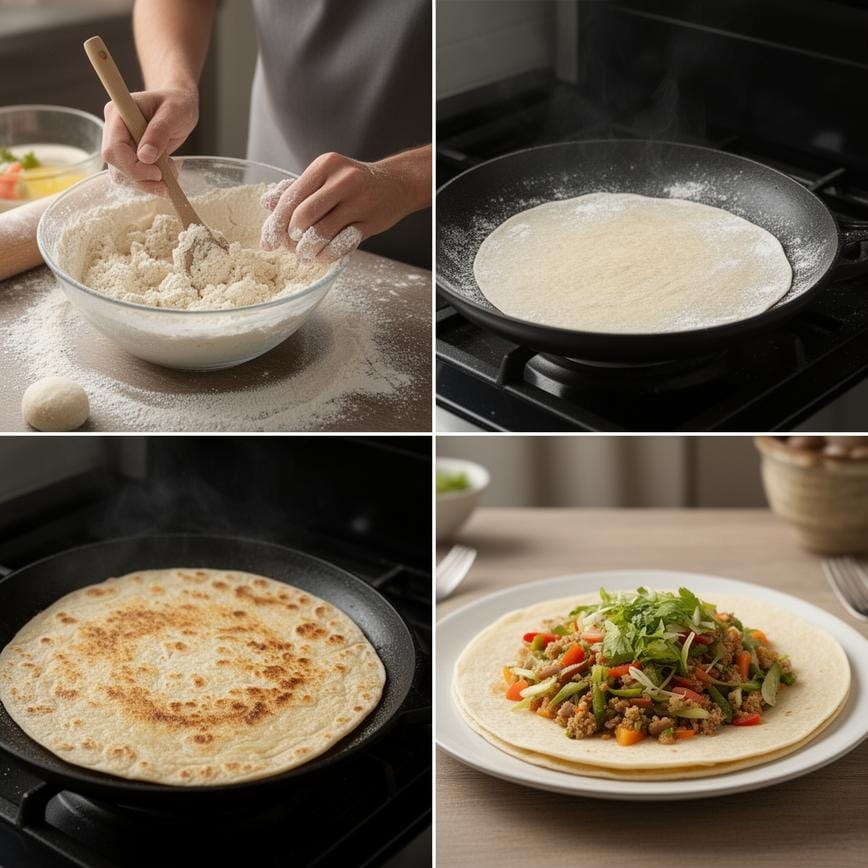
Step-by-Step Guide
- Add the gluten free flour and salt to a mixing bowl and stir to combine.
- Pour the water and olive oil into the bowl with the flour.
- Use a spoon to mix until you have a crumbly dough, then knead with your knuckles and hand until you have a smooth dough, formed into a ball. If the mixture is too dry, add a little water; if too wet, sprinkle with extra flour until you have a smooth, soft dough.
- Dust your work surface with flour and break the ball into two equal pieces.
- Use a floured rolling pin to roll out the dough to form a very thin, circle shape. Flour both sides of the dough well, and flip it periodically while you are rolling, to ensure it doesn’t stick to the surface or rolling pin.
- Heat a non-stick frying pan over a medium flame, then once hot, add your dough to the pan. Cook for about a minute, until small bubbles form in the dough, then flip and cook for a minute or so on the other side.
- Flip another couple of times until it looks well-cooked and puffy bubbles have formed.
- Transfer to a clean tea towel and wrap it in the cloth to stop it drying out. Repeat steps 4-5 with the second ball, then enjoy your wraps! You can enjoy them warm from the pan. If you want to save them for later, allow them to cool fully in the tea towel, then transfer to an airtight container and enjoy later that day.
Pointers for Perfection & How to Store
For the best results, ensure your pan is hot before adding the dough. This helps create those lovely puffy bubbles. If you’re new to making gluten free wraps, don’t worry if the first one isn’t perfect—practice makes perfect!
Check out more tips and variations in our detailed Gluten Free Tortillas Recipe.
Print
Gluten Free Wraps
- Total Time: 30
- Yield: 6 wraps 1x
- Diet: Gluten Free
Description
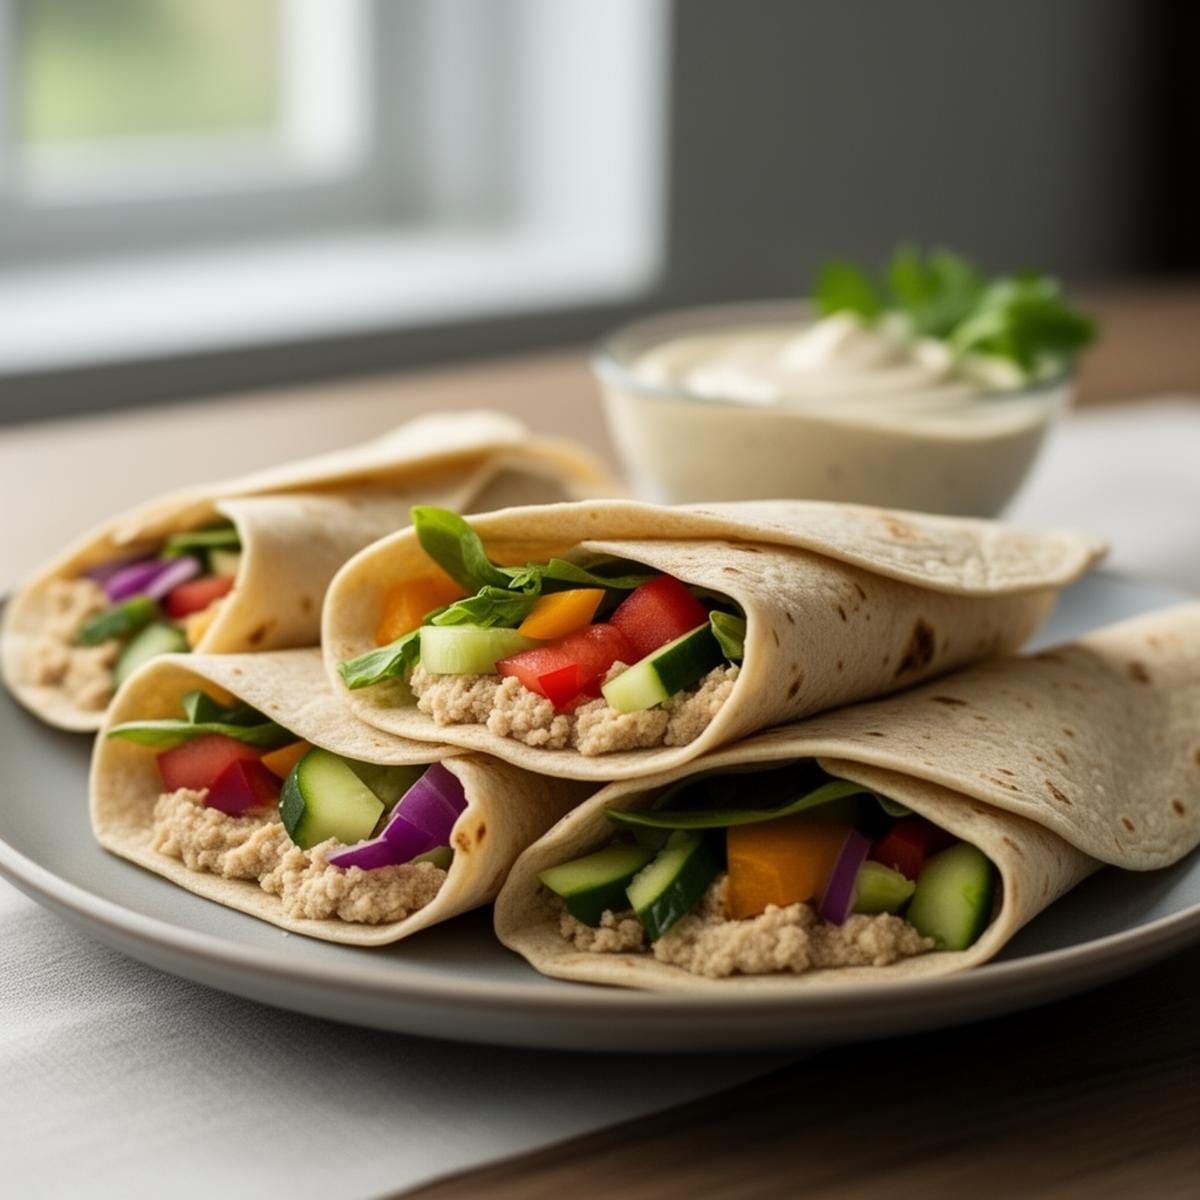
Learn how to make Gluten-Free Wraps that actually roll without cracking! These soft, pliable homemade tortillas are perfect for burritos, lunch wraps, or fajitas. Made with simple pantry staples and a warm-water dough technique, they are infinitely tastier (and cheaper) than the stiff, dry store-bought versions.
Ingredients
2 cups gluten-free all-purpose flour blend (Must contain xanthan gum; King Arthur Measure for Measure or Cup4Cup work well)
1 teaspoon baking powder (adds fluffiness)
1 teaspoon salt
3 tablespoons olive oil (or vegetable oil/melted butter)
¾ cup warm water (approx. 110°F) – Start with ⅔ cup and add more if needed
Extra gluten-free flour (for dusting and rolling)
Instructions
1. Mix Dry Ingredients: In a large bowl, whisk together the gluten-free flour, baking powder, and salt.
2. Add Wet Ingredients: Create a well in the center. Pour in the olive oil and ⅔ cup of the warm water. (Warm water is crucial as it helps activate the xanthan gum instantly).
3. Combine: Stir with a sturdy spoon until the dough starts to come together. If there is still a lot of dry flour at the bottom, add the remaining water 1 tablespoon at a time.
4. Knead: Use your hands to knead the dough in the bowl for 1–2 minutes until it forms a smooth, cohesive ball. It should be soft like Play-Doh but not sticky. If it sticks to your hands, dust with a little more flour.
5. Divide: Divide the dough into 6 equal portions. Roll each into a ball.
6. Cover (Important): Keep the dough balls covered with a damp kitchen towel or plastic wrap while you work. Gluten-free dough dries out very quickly.
7. Roll Out: Place a dough ball between two sheets of parchment paper. Roll it out into a thin circle, about 8 inches in diameter and ⅛-inch thick. (Rolling between paper prevents sticking without adding excess flour).
8. Heat the Pan: Heat a non-stick skillet or cast-iron pan over medium-high heat. Do not oil the pan (dry cooking produces the best spots).
9. Cook: Peel the top parchment off, flip the wrap onto your hand, peel the bottom parchment, and place the wrap in the hot pan.
10. Cook for 45–60 seconds. You should see bubbles forming on the surface and golden brown spots on the bottom.
11. Flip and cook for another 30–45 seconds on the other side.
12. Steam to Soften (The Secret): As soon as you remove a wrap from the pan, place it in a tortilla warmer or stack it on a plate covered by a clean kitchen towel. This traps the steam and ensures the wraps stay soft and flexible.
13. Repeat with the remaining dough balls.
Notes
Xanthan Gum: This recipe relies on a flour blend that already contains xanthan gum. If your flour doesn’t have it, add 1 teaspoon of xanthan gum to the dry ingredients, otherwise the wraps will break.
Warm Water: Do not use cold water. Warm water hydrates the starches immediately, which creates the flexibility needed for rolling.
Reheating: These wraps are best eaten fresh. If eating leftovers, wrap them in a damp paper towel and microwave for 10-15 seconds to make them pliable again before rolling.
Storage: Store in an airtight ziplock bag in the fridge for up to 3 days.
- Prep Time: 15
- Cook Time: 15
- Category: Bread
- Method: Stovetop
- Cuisine: International
Nutrition
- Serving Size: 1 wrap
- Calories: 180
- Sugar: 0
- Sodium: 390
- Fat: 7
- Saturated Fat: 1
- Unsaturated Fat: 5
- Trans Fat: 0
- Carbohydrates: 26
- Fiber: 2
- Protein: 3
- Cholesterol: 0
Your Burning Questions Answered!
- Can I use a different type of gluten free flour?
- While Mulino Caputo Fioreglut works best for this recipe, you can experiment with other gluten free flours, but the texture may vary.
- How long can I store these gluten free wraps?
- These wraps are best enjoyed fresh but can be stored in an airtight container for up to 2 days. Reheat them in a dry pan to restore their softness.
Can I freeze the dough?
Yes, you can freeze the dough. Just make sure to thaw it completely before rolling and cooking.
Dig In & Enjoy!
Now that you’ve mastered making gluten free wraps, the possibilities are endless. Fill them with your favorite ingredients and enjoy a delicious, gluten-free meal. For more delicious ideas, follow me on Pinterest.