Table of Contents
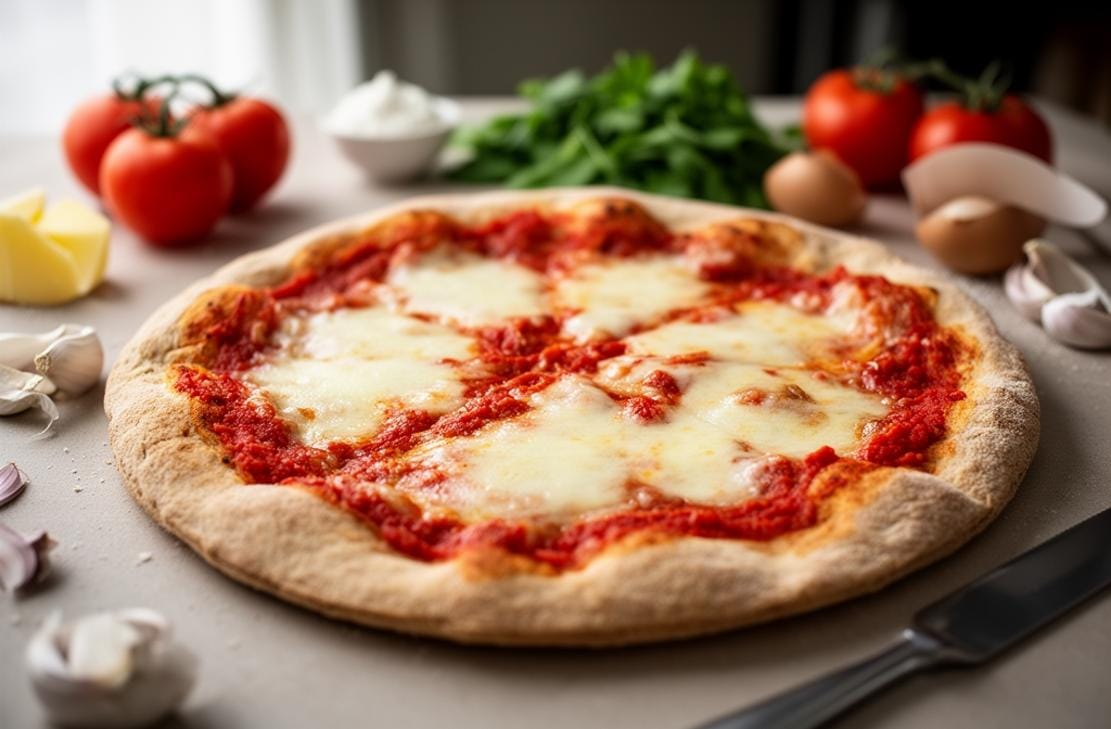
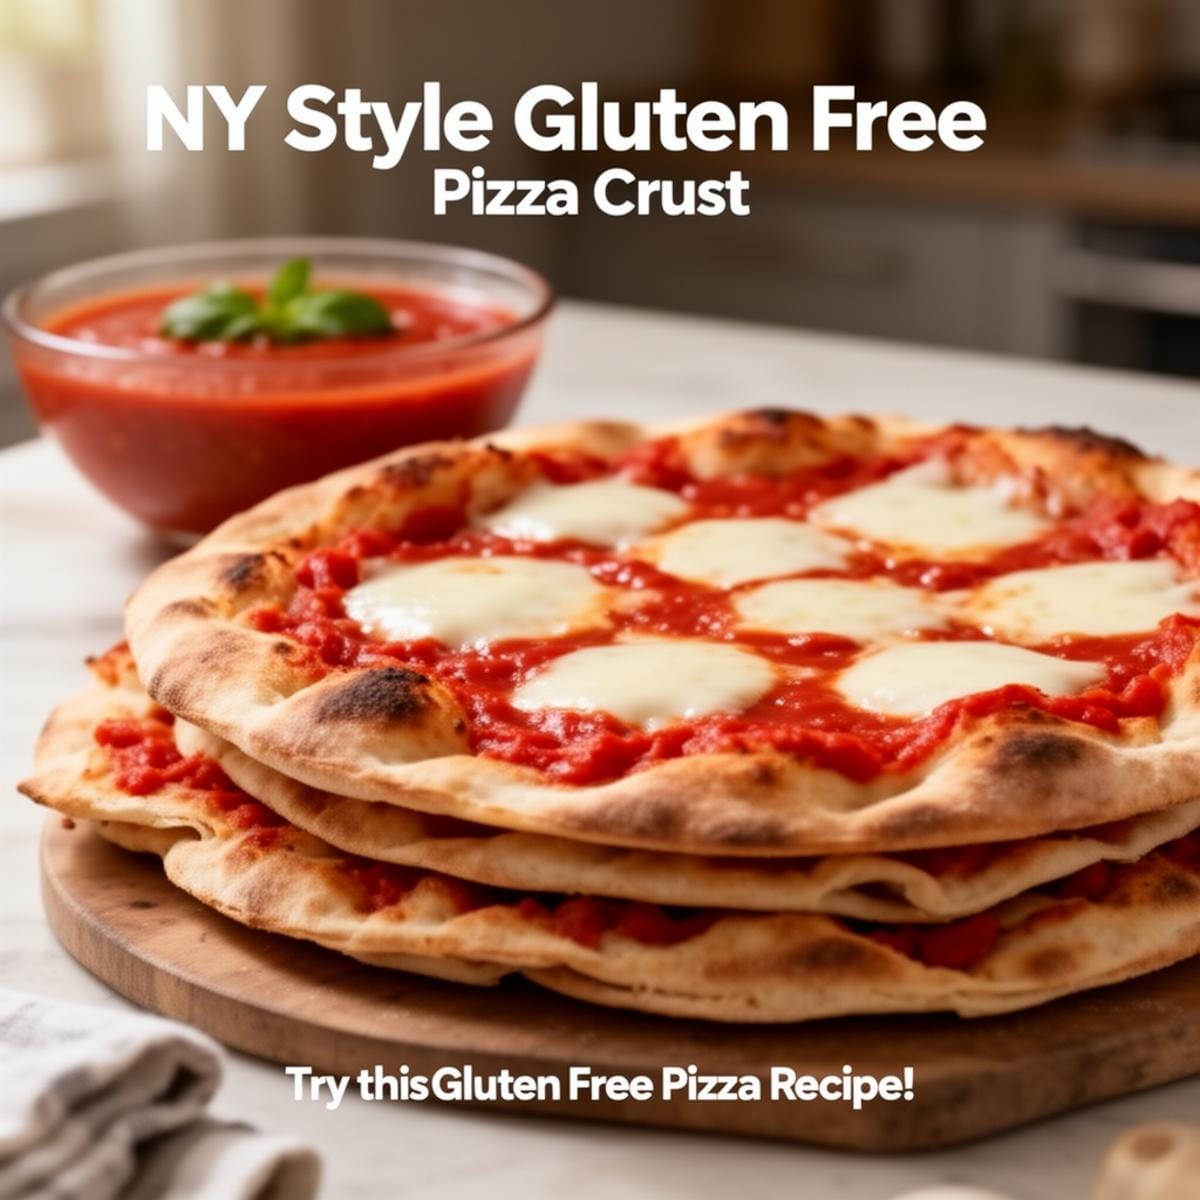
Craving that classic New York pizza experience but need it gluten-free? Look no further! This NY Style Gluten Free Pizza Crust delivers the perfect chewy, crispy base without the gluten. It’s easy to make, full of flavor, and ready to be topped with all your favorites.
Growing up, Friday nights were all about pizza. The smell of dough baking, the stretchy cheese, and that first crispy bite—it was pure magic. When I went gluten-free, I thought those days were over. But after lots of trial and error, I finally nailed this NY Style Gluten Free Pizza Crust. Now, pizza night is back on the menu, and it’s better than ever!
Ready to bring that classic New York pizza vibe to your kitchen? Let’s get started!
What to Expect
- Time: About 1 hour 20 minutes (including refrigeration)
- Difficulty: Easy
Before You Begin
Before diving into making your NY Style Gluten Free Pizza Crust, here are a few tips to ensure success:
- Make sure your yeast is fresh and active. If it’s been sitting in your pantry for a while, test it in warm water with a pinch of sugar to see if it bubbles.
- Use a kitchen scale for accurate measurements, especially for the flour. Gluten-free baking is all about precision!
- Preheat your oven and pizza stone (or baking sheet) for at least 20 minutes to get that perfect crispy crust.
Ingredients You’ll Need
| Ingredient | Quantity |
|---|---|
| All purpose gluten free flour blend | 2 cups (280 g), Better Batter highly recommended |
| Xanthan gum | 1 teaspoon, omit if your blend already contains it |
| Tapioca starch/flour | ¼ cup (36 g) |
| Instant yeast | 2 teaspoons (6 g) |
| Granulated sugar | 1 ½ teaspoons (6 g) |
| Kosher salt | 1 teaspoon |
| Warm water | 9.5 ounces (about 95°F) |
| Extra virgin olive oil | 2 tablespoons |
| Cooking oil spray | As needed |
| Your favorite pizza toppings | As desired |
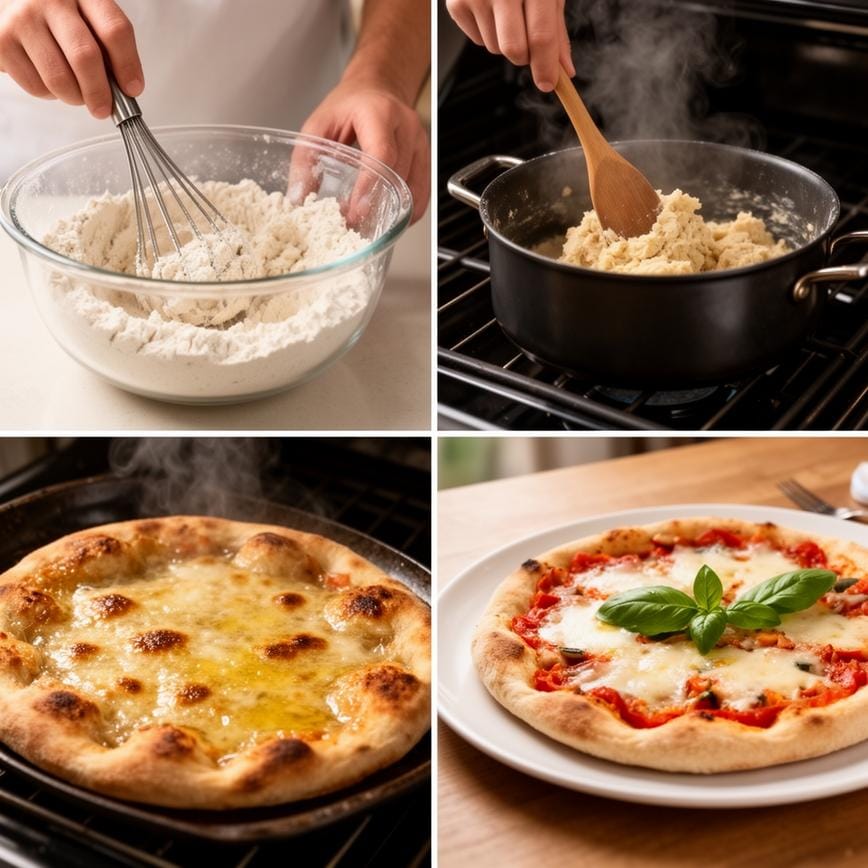
Step-by-Step Guide
- In the bowl of your stand mixer fitted with the paddle attachment or your food processor fitted with the metal blade, combine the flour, xanthan gum, tapioca starch, yeast, and sugar. Whisk to mix well.
- Add the salt and whisk again to combine thoroughly.
- Pour in the warm water and olive oil. Mix on medium speed (or pulse in the food processor) until the dough starts to come together.
- Increase the speed to high (or turn the food processor on) and process for about 2 minutes until the dough is smooth.
- Transfer the dough to a greased container with a tight-fitting lid or a greased bowl. Cover tightly and refrigerate for at least 1 hour or up to 3 days.
- When ready to make pizza, preheat your oven to 450°F with a pizza stone or overturned rimmed baking sheet inside.
- Divide the dough into two equal portions. Work with one portion at a time, keeping the other refrigerated.
- Wet your hands with water or coat them in cooking oil spray to prevent sticking. Place the dough on a clean sheet of parchment paper.
- Press the dough from the center outward into a 12-inch round. Use a greased rolling pin if needed.
- Create a slightly raised edge around the perimeter by pressing the dough with your hands.
- Spray the shaped dough with cooking oil spray, focusing on the edges.
- Add your favorite sauce, cheese, and toppings.
- Transfer the topped dough (still on the parchment) to a pizza peel or flat surface, then slide it onto the preheated stone or baking sheet.
- Bake for 8 to 10 minutes, or until the crust is crisp underneath, the edges are golden, and the cheese is bubbly.
- Remove from the oven, let it rest for a few minutes, then slice and serve hot!
Pointers for Perfection & How to Store
For the best NY Style Gluten Free Pizza Crust, make sure your dough is well-chilled before shaping. This helps with handling and gives the crust a better texture. If you’re not using the dough immediately, it can be stored in the refrigerator for up to 3 days. Just let it come to room temperature before shaping.
Looking for more gluten-free pizza inspiration? Check out this amazing recipe: Gluten Free Mini Pizzas Quick Dinners.
Print
NY Style Gluten Free Pizza Crust
- Total Time: 1 hour 30 minutes
- Yield: 2 small pizzas or 1 large 1x
- Diet: Gluten Free
Description
Finally, a Gluten-Free Pizza Crust that is actually foldable! This NY Style crust is thin, chewy, and crispy on the bottom, with none of the crumbly texture of standard gluten-free doughs. It is easy to make and tastes just like the classic slice you’ve been missing. Perfect for Friday night pizza parties.
Ingredients
3 cups (420g) all-purpose gluten-free flour blend (ensure it contains xanthan gum)
2 ¼ teaspoons (1 packet) instant yeast
¼ cup granulated sugar (helps with browning and chewiness)
1 ½ teaspoons kosher salt
1 ½ cups warm water (about 110°F)
1 tablespoon olive oil, plus extra for brushing
Cornmeal or extra gluten-free flour, for dusting the pizza peel
Instructions
1. Mix Dry Ingredients: In the bowl of a stand mixer fitted with the paddle attachment, whisk together the gluten-free flour, instant yeast, sugar, and salt.
2. Add Wet Ingredients: With the mixer on low speed, slowly pour in the warm water and the olive oil. Once the flour is incorporated, increase the speed to medium-high.
3. Beat the Dough: Beat the mixture for about 3–4 minutes. The dough will look more like a thick, sticky batter than a traditional bread dough. This is normal for gluten-free recipes!
4. First Rise: Scrape down the sides of the bowl and gather the dough into a ball. Cover the bowl with plastic wrap and place it in a warm, draft-free spot. Let it rise for about 40–60 minutes, or until it has doubled in size.
5. Preheat: Place a pizza stone or baking steel in the oven and preheat to 450°F (230°C). Let it heat up for at least 30 minutes.
6. Shape: Turn the dough out onto a piece of parchment paper liberally dusted with gluten-free flour. Divide the dough in half (for two 10-inch pizzas) or leave whole. Using oiled hands or a rolling pin, gently press and roll the dough into a thin circle, leaving the edges slightly thicker for the crust.
7. Top & Bake: Brush the edges with a little olive oil. Add your sauce and toppings. Transfer the pizza (on the parchment paper) directly onto the hot pizza stone. Bake for 10–15 minutes, until the cheese is bubbly and the crust is golden brown and crisp.
Notes
Flour Choice: For the best ‘chew,’ use a high-quality gluten-free flour blend. Blends containing expanded starches or milk powder often yield the best browning.
Dairy Free: This crust recipe is naturally dairy-free. Just ensure your toppings match your dietary needs.
Make Ahead: You can prepare the dough, let it rise, and then store it in the refrigerator for up to 2 days. Cold dough is often easier to handle and shape.
Freezing: Par-bake the crust for 5 minutes, let it cool, and then wrap it tightly and freeze. When ready to eat, top and bake from frozen.
- Prep Time: 15
- Cook Time: 15
- Category: Dinner
- Method: Baking
- Cuisine: Italian-American
Nutrition
- Serving Size: 1 slice
- Calories: 160
- Sugar: 4
- Sodium: 280
- Fat: 2
- Saturated Fat: 0
- Unsaturated Fat: 2
- Trans Fat: 0
- Carbohydrates: 34
- Fiber: 2
- Protein: 3
- Cholesterol: 0
Your Burning Questions Answered!
- Can I freeze the dough?
- Yes! After mixing, you can freeze the dough in an airtight container for up to 2 months. Thaw in the refrigerator before using.
- What’s the best flour blend for this recipe?
- Better Batter is highly recommended, but any high-quality all-purpose gluten-free flour blend should work.
Can I make this crust without a pizza stone?
Absolutely! An overturned rimmed baking sheet works just as well.
Dig In & Enjoy!
There you have it—your very own NY Style Gluten Free Pizza Crust, ready to be topped and devoured. Whether it’s a cozy night in or a fun gathering with friends, this pizza crust will bring that classic New York flavor to your table. For more delicious ideas, follow me on Pinterest.