Table of Contents
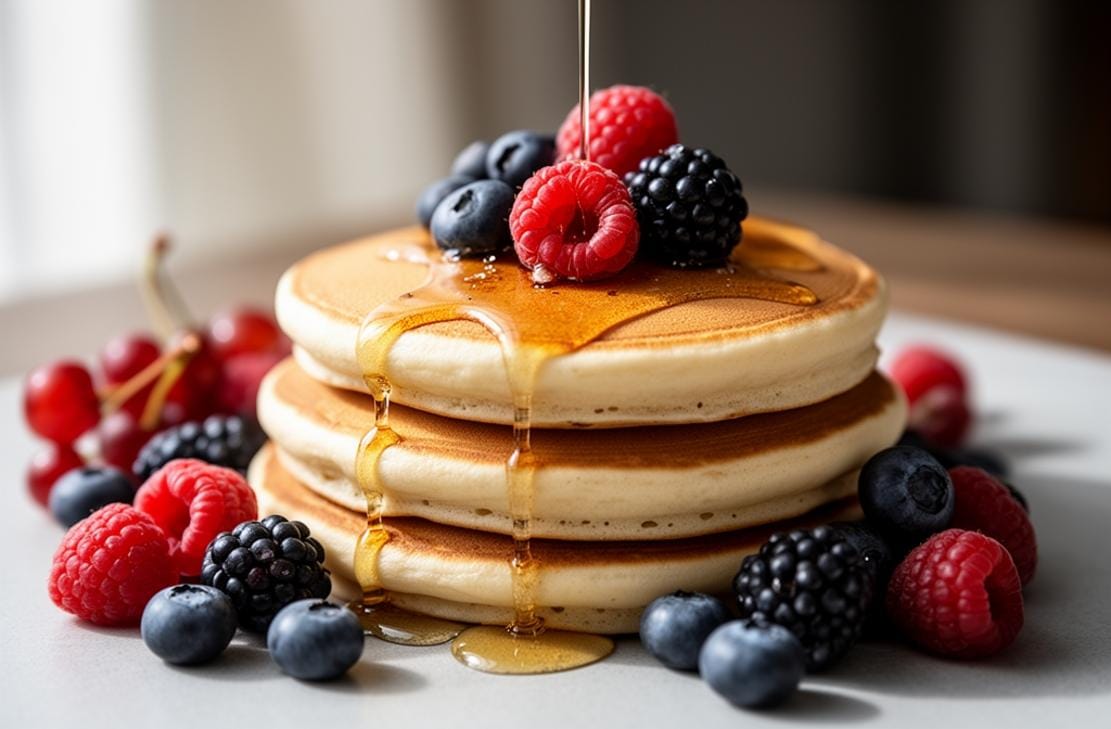
Fluffy, light, and utterly delicious, these Gluten Free Japanese Pancakes are a dream come true for anyone craving a stack of heaven without the gluten. Perfect for breakfast or brunch, these pancakes are sure to impress with their jiggly texture and melt-in-your-mouth goodness. Whether you’re gluten-intolerant or just looking for a healthier alternative, this recipe is a must-try!
I first discovered Gluten Free Japanese Pancakes during a trip to Tokyo, where I was amazed by how something so simple could be so incredibly delicious. The challenge was recreating that magic at home without gluten. After several trials and errors, I finally nailed the perfect recipe that brings the same joy and satisfaction. Now, I’m excited to share this gluten-free delight with you!
Get ready to cook up a storm and treat yourself to these irresistible Gluten Free Japanese Pancakes. Let’s dive into the recipe and make some magic happen in your kitchen!
What to Expect
- Time: Approximately 40 minutes
- Difficulty: Moderate

Before You Begin
Before you start, make sure you have all your ingredients measured and ready to go. Using homemade pancake forms will help achieve that perfect round shape. Also, keep your heat low and patient—these Gluten Free Japanese Pancakes need a gentle touch to rise beautifully.
Ingredients You’ll Need
| Ingredient | Quantity |
|---|---|
| Gluten free flour | 1 cup (140g) |
| Baking powder | ½ tsp |
| Sugar | ¼ cup (50g) |
| Medium-sized eggs | 2 (80g all together) |
| Buttermilk | ¾ cup (to make up 1 cup with the egg) |
| Vanilla extract | ½ tsp |
| Japanese mayonnaise | 1 tbsp |
| Butter, maple syrup, ice-cream, etc. | For toppings |
Step-by-Step Guide
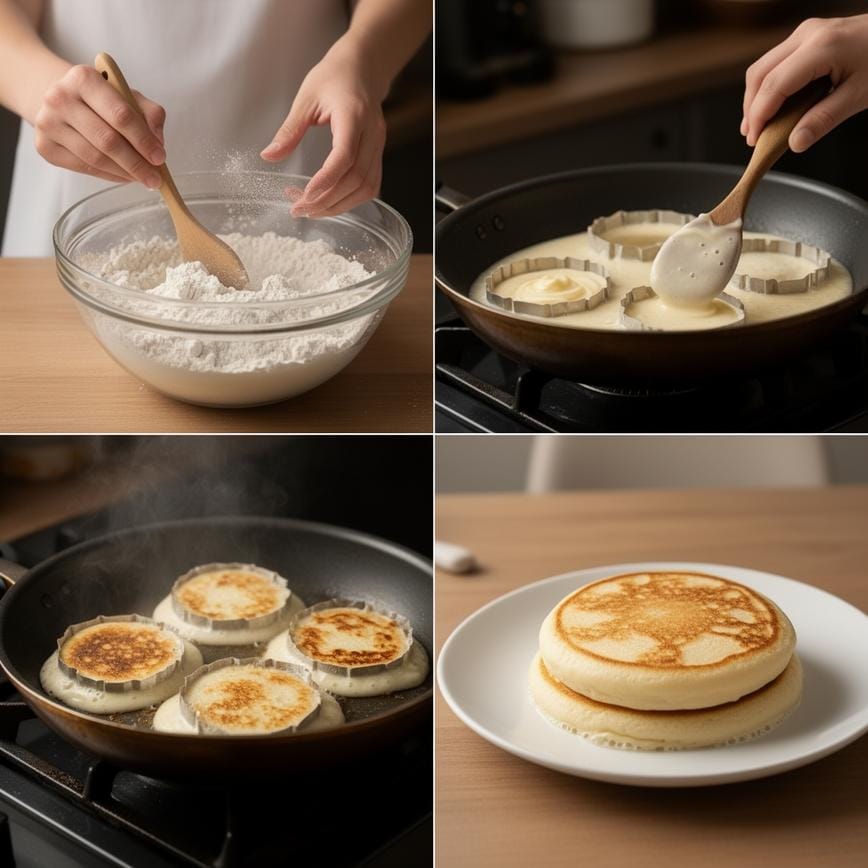
- Sift all the dry ingredients (gluten-free flour, baking powder, and sugar) together in a bowl and combine well.
- In another bowl, add the eggs, buttermilk, vanilla extract, and Japanese mayonnaise. Whisk lightly to combine. Don’t worry about the mayo smell—it will disappear once cooked.
- Make a well in the center of the dry ingredients and pour the liquid mixture into it. Mix well until fully combined.
- Place three homemade pancake forms onto a frying pan over low heat. Pour 1/3 of the batter into each form.
- Cover the pan with a lid and let the pancakes cook for 20 minutes. You’ll know they’re ready to flip when little bubbles form and the edges look slightly cooked.
- Using gloves (the forms will be hot!), carefully flip the pancakes over. Cover again and cook for another 20 minutes on the other side.
- Remove the pancakes from the heat, take off the staples from the forms, and gently release the pancakes.
- Serve your Gluten Free Japanese Pancakes with your favorite toppings like butter, maple syrup, or ice cream.
Pointers for Perfection & How to Store
For the fluffiest Gluten Free Japanese Pancakes, ensure your baking powder is fresh and your buttermilk is at room temperature. If you don’t have buttermilk, you can make a substitute by adding 1 tablespoon of lemon juice or vinegar to ¾ cup of milk and letting it sit for 5 minutes.
To store, let the pancakes cool completely, then place them in an airtight container in the refrigerator for up to 3 days. Reheat in a toaster or microwave before serving. For a different twist, try our Gluten Free German Pancakes next!
Print
Gluten Free Japanese Pancakes: Fluffy Recipe
- Total Time: 35
- Yield: 2–3 pancakes 1x
- Diet: Gluten Free
Description
Experience the viral sensation of Japanese Soufflé Pancakes, now completely Gluten-Free! These tall, jiggly, and cloud-like pancakes melt in your mouth, thanks to a delicate meringue base. Unlike traditional flat pancakes, these are cooked slowly with steam to achieve incredible height. Serve them with fresh berries and dusting sugar for a breakfast that looks as good as it tastes.
Ingredients
2 large eggs (cold, separated into yolks and whites)
1 ½ tablespoons milk (dairy or almond milk)
¼ teaspoon pure vanilla extract
¼ cup Gluten-Free All-Purpose Flour (ensure fine texture)
½ teaspoon gluten-free baking powder
2 tablespoons granulated sugar
½ teaspoon lemon juice or cream of tartar (to stabilize egg whites)
1 tablespoon vegetable oil (for greasing the pan)
2 tablespoons water (for steaming)
Instructions
1. Prep: Separate the egg whites and yolks into two different bowls. Keep the whites in the fridge until ready to whip (cold whites whip better).
2. Yolk Batter: In the bowl with the yolks, add the milk and vanilla extract. Whisk until smooth. Sift in the gluten-free flour and baking powder, then mix until thick and fully combined.
3. Make Meringue: Add the lemon juice (or cream of tartar) to the egg whites. Using an electric hand mixer, beat the whites on medium speed. Gradually add the sugar one teaspoon at a time while beating, until stiff, glossy peaks form. *When you lift the beater, the peak should stand straight up.*
4. Fold: Gently fold 1/3 of the meringue into the yolk batter to lighten it. Then, very gently fold in the remaining meringue. *Do not overmix or you will deflate the air bubbles that make them fluffy.*
5. Heat Pan: Heat a non-stick skillet over very low heat. Lightly brush with oil. You can use ring molds if you have them, or simply spoon the batter free-form.
6. Cook & Steam: Scoop the batter into the pan in tall mounds (stacking 2-3 scoops on top of each other). Add 1 tablespoon of water to the empty spaces in the pan (not touching the pancakes) and immediately cover with a tight lid. Cook for 4-5 minutes.
7. Flip: Remove the lid. If the tops look slightly set (not runny), gently flip each pancake. Add another tablespoon of water to the pan, cover again, and cook for another 3-4 minutes.
8. Serve: Transfer carefully to a plate. Serve immediately as they will deflate slightly as they cool. Top with powdered sugar, fruit, or syrup.
Notes
Temperature Control: Cooking on low heat is crucial. If the heat is too high, the outside will burn before the inside cooks.
Meringue is Key: The height comes from the egg whites. Ensure your bowl and beaters are completely clean and free of grease before whipping.
Serve Immediately: Like a soufflé, these pancakes are best eaten right out of the pan.
Flour Choice: A light gluten-free flour blend (often containing rice flour and starch) works best here.
- Prep Time: 20
- Cook Time: 15
- Category: Breakfast
- Method: Steaming/Pan Fry
- Cuisine: Japanese
Nutrition
- Serving Size: 1 serving
- Calories: 230
- Sugar: 14
- Sodium: 160
- Fat: 10
- Saturated Fat: 3
- Unsaturated Fat: 5
- Trans Fat: 0
- Carbohydrates: 26
- Fiber: 1
- Protein: 9
- Cholesterol: 185
Your Burning Questions Answered!
- Can I use regular flour instead of gluten-free flour?
- No, this recipe is specifically designed for gluten-free flour to maintain the texture and structure of the pancakes.
- Why do I need Japanese mayonnaise?
- Japanese mayonnaise adds a unique richness and slight tang that enhances the flavor of the pancakes.
Can I make these pancakes without pancake forms?
While possible, the forms help achieve the signature height and shape of Japanese pancakes. Without them, the pancakes may spread too thin.
Dig In & Enjoy!
There you have it—your guide to making the most amazing Gluten Free Japanese Pancakes right in your own kitchen. These pancakes are not just gluten-free; they’re a delightful experience that brings a taste of Japan to your breakfast table. Whether you’re making them for a lazy weekend brunch or a special occasion, they’re sure to be a hit.
For more delicious ideas, follow me on Pinterest.