Table of Contents
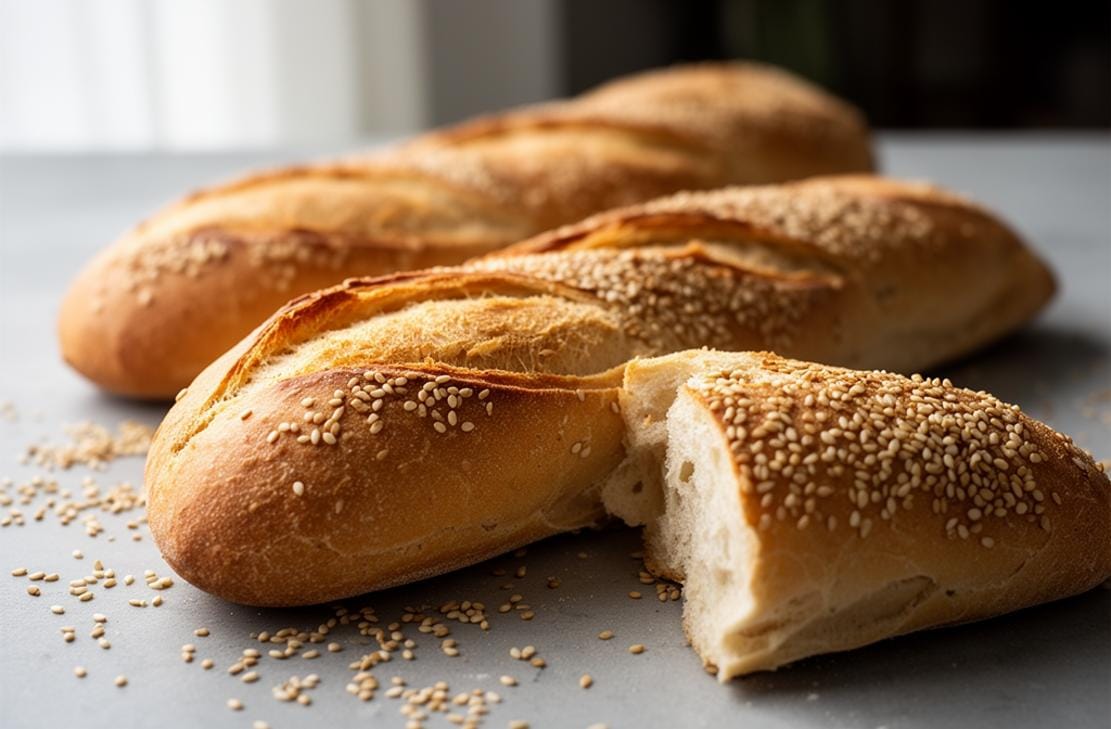
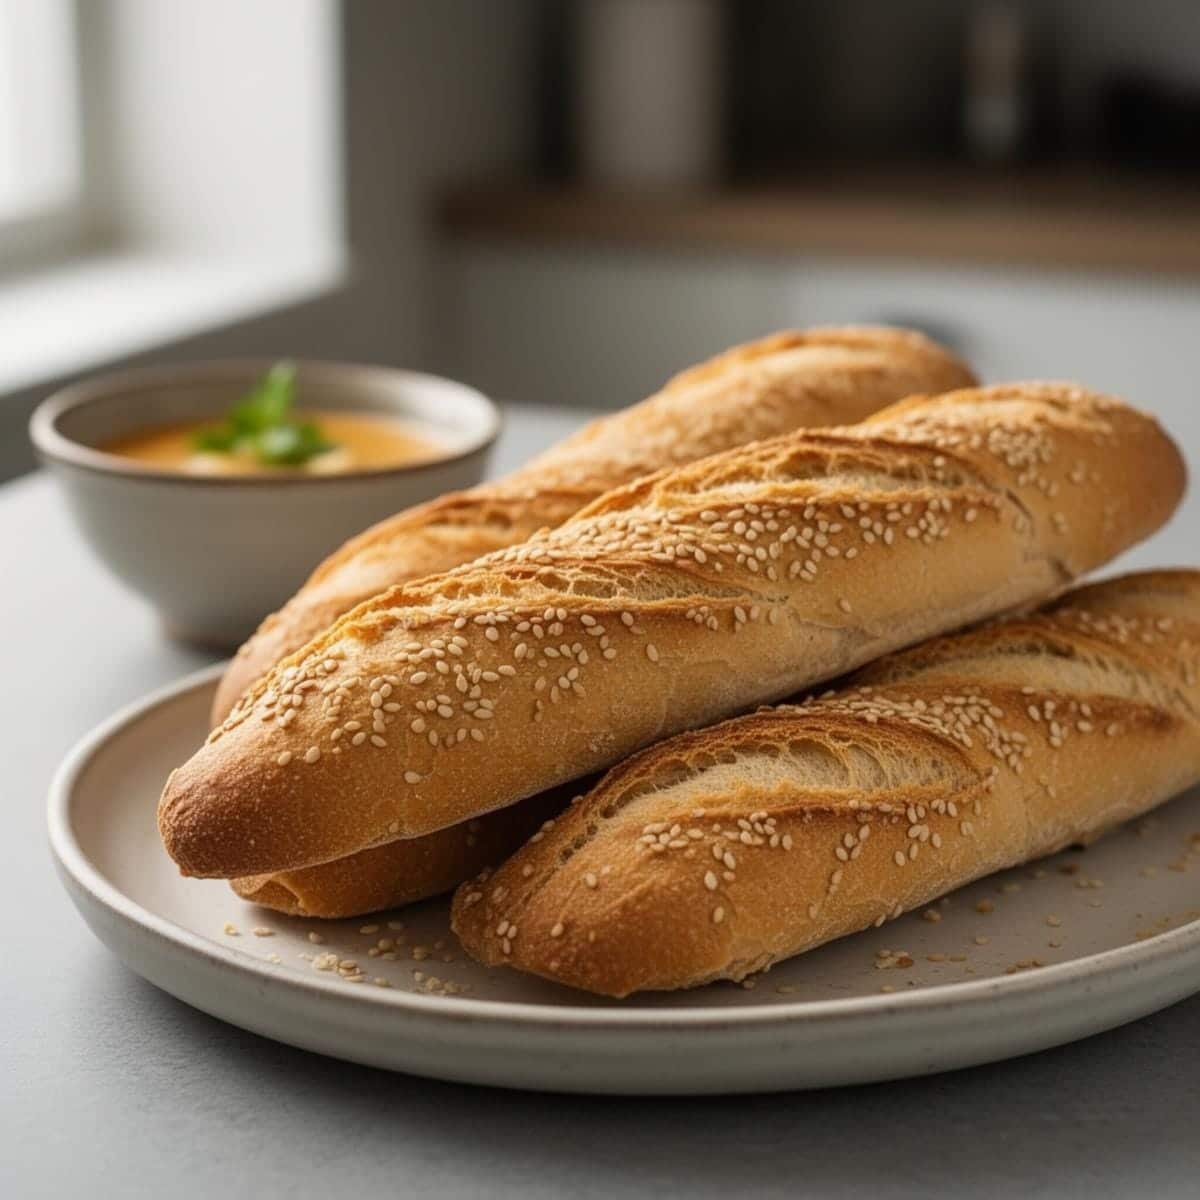
There’s nothing quite like the aroma of freshly baked bread wafting through your home. These Gluten Free French Bread Baguettes are crispy on the outside, soft on the inside, and perfect for anyone following a gluten-free diet. Whether you’re making sandwiches or serving them with a hearty soup, these baguettes are sure to impress.
I remember the first time I tried to make gluten-free bread. It was a disaster! But over time, I’ve learned the tricks and techniques to create gluten-free bread that rivals its traditional counterparts. These Gluten Free French Bread Baguettes are a testament to that journey, and I’m thrilled to share the recipe with you.
Now, let’s get ready to bake some delicious Gluten Free French Bread Baguettes!
What to Expect
- Time: Approximately 2 hours (including rise time)
- Difficulty: Intermediate
Before You Begin
Before you start, make sure all your ingredients are at room temperature. This helps with the mixing and rising process. Also, ensure your yeast is fresh and active. If it’s been sitting in your pantry for a while, it might be time to get a new packet.
Ingredients You’ll Need
| Ingredient | Quantity |
|---|---|
| All purpose gluten free flour blend | 1 ¾ cups (245 g) |
| Xanthan gum | ¾ teaspoon |
| Tapioca starch/flour | ¼ cup (36 g) |
| Instant yeast | 2 teaspoons (6 g) |
| Kosher salt | ½ teaspoon |
| Warm water | ¾ cup (6 ounces) |
| Egg white | 1 (25 g) |
| Honey | 1 tablespoon (21 g) |
| Apple cider vinegar | 1 teaspoon |
| Unsalted butter | 1 tablespoon (14 g) |
| Cooking oil spray | As needed |
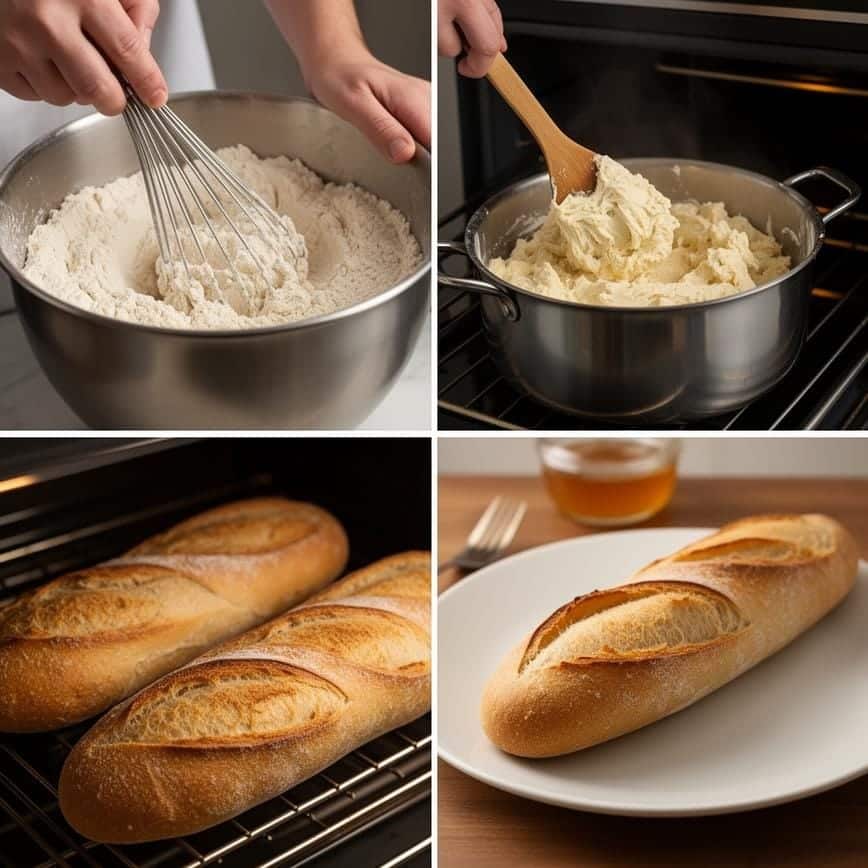
Step-by-Step Guide
- In the bowl of a stand mixer fitted with the paddle attachment, combine the flour, xanthan gum, tapioca starch/flour, and yeast. Whisk to mix well.
- Add the salt and whisk again to combine.
- Create a well in the center of the dry ingredients and add the water, egg white, honey, vinegar, and butter. Mix to combine.
- Beat the mixture with the paddle attachment on medium speed for about a minute. The dough will clump.
- Increase the speed to medium-high and continue to beat until the dough begins to stick to the sides of the mixing bowl and looks “whipped” in texture.
- Transfer the dough to a container with a tight-sealing lid, cover, and refrigerate for at least 30 minutes and up to 3 days.
- When ready to shape the dough, turn the chilled dough out onto a flat surface lightly sprinkled with tapioca starch.
- Dust the top of the dough lightly with more tapioca starch, turn it over a few times, and knead it gently to smooth the dough.
- Using a large knife or bench scraper, divide the dough into 2 equal portions.
- Working with one piece of dough at a time, dusting very lightly with more flour as necessary to prevent sticking, shape the bread into a cylinder, pinching together any breaks in the dough to seal them.
- Position the palms of both hands right next to one another on the top of the cylinder of dough. Roll the dough first away from your body and then back toward it as you move your hands in a half moon motion away from one another, toward the edges of the dough. The shape should be thicker in the center, tapered toward the ends.
- Place the shaped rolls a couple inches apart on a parchment lined baking sheet.
- Cover with lightly greased plastic wrap and place in a warm, draft-free environment. Allow to rise until risen to about 150% of its original size.
- As the bread dough is nearing the end of its rise, preheat your oven to 475°F and position the top rack a bit higher than the center of the oven.
- When the rise is complete, uncover the baking sheet. Using a small, sharp knife or a lame held at a 45° angle to the dough, slash each roll on top 3 times at evenly spaced spots on the dough about 1/4-inch deep.
- Spray the tops and sides of each roll liberally with cooking oil spray.
- Place the baking sheet on the top oven rack, toss a few ice cubes on the floor of the oven, and quickly close the oven door.
- Bake for 18 minutes, rotate the baking sheet one half turn, and continue to bake for about another 5 minutes or until lightly golden brown all over and an instant read thermometer inserted into the thickest part of the roll reads about 190°F.
- For a softer crust, wrap the hot rolls in a tea towel as they cool. Allow to cool for at least 10 minutes before serving.
Pointers for Perfection & How to Store
For the best results, make sure your yeast is fresh and active. If your dough isn’t rising properly, it could be due to old yeast. Also, don’t rush the rising process. Let the dough rise in a warm, draft-free environment for the best texture.
To store your Gluten Free French Bread Baguettes, wrap them tightly in plastic wrap or aluminum foil and keep them at room temperature for up to 3 days. For longer storage, you can freeze the baguettes for up to 3 months. Just make sure to thaw them at room temperature before serving.
If you’re looking for more delicious gluten-free recipes, check out this Gluten Free Zucchini Banana Bread Recipe.
Print
Gluten Free French Bread Baguettes
- Total Time: 1 hour 55 minutes
- Yield: 3 baguettes 1x
- Diet: Gluten Free
Description
These Gluten-Free French Bread Baguettes are the real deal—featuring a crispy, crackly golden crust and a soft, airy interior with those covetable open holes. Using psyllium husk for structure and a simple steam-baking technique, this recipe recreates the authentic texture of a Parisian bakery baguette without any wheat. They are perfect for sandwiches, bruschetta, or simply serving warm with salted butter.
Ingredients
— Yeast Mixture —
1 ½ cups warm water (105°F – 110°F)
2 tablespoons honey or granulated sugar
1 packet (2 ¼ tsp) instant yeast
— Dry Ingredients —
3 cups gluten-free bread flour blend (or all-purpose blend with starch)
3 tablespoons psyllium husk powder (essential for structure and chew)
1 ½ teaspoons salt
1 teaspoon baking powder
— Wet Ingredients —
3 large egg whites, room temperature (promotes a crispy crust)
2 teaspoons apple cider vinegar
3 tablespoons olive oil (plus extra for brushing)
Instructions
1. Activate Yeast: In the bowl of a stand mixer, whisk together the warm water and honey. Sprinkle the yeast on top and let it sit for 5–10 minutes until it becomes foamy and bubbly.
2. Whisk Dry Ingredients: In a separate medium bowl, whisk together the gluten-free flour, psyllium husk powder, salt, and baking powder. Ensure the psyllium is evenly distributed.
3. Mix Dough: Add the egg whites, vinegar, and olive oil to the yeast mixture. Add the dry ingredients. Using the paddle attachment, mix on low speed to combine, then increase to medium-high speed and beat for 4–5 minutes. The dough will be sticky and thick but cohesive.
4. Shape Baguettes: Turn the dough out onto a lightly floured surface. Divide it into 3 equal portions. Gently roll each portion into a log about 10–12 inches long, tapering the ends slightly.
5. Proof: Place the shaped baguettes on a parchment-lined baking sheet (or a baguette pan if you have one). Cover loosely with oiled plastic wrap or a damp kitchen towel. Let rise in a warm spot for 45–60 minutes, until puffed up (they won’t quite double, but should look airy).
6. Preheat & Steam Prep: While rising, preheat your oven to 450°F (230°C). Place an empty metal baking pan on the bottom rack of the oven to heat up.
7. Score & Bake: Brush the baguettes lightly with olive oil or water. Use a sharp knife or lame to make 3 diagonal slashes across the top of each loaf. Place the tray in the oven. Immediately pour 1 cup of boiling water into the hot metal pan on the bottom rack (this creates steam for the crust) and quickly close the door.
8. Bake: Bake for 25–30 minutes until the baguettes are deep golden brown and sound hollow when tapped on the bottom.
9. Cool: Transfer to a wire rack and let cool completely before slicing. Cutting them while hot will result in a gummy texture.
Notes
Psyllium Husk Powder: This is the secret ingredient that mimics gluten’s elasticity. Whole husks can be used (use 4 tbsp), but powder gives a smoother texture.
Steam Bath: Do not skip the steam step! The humidity keeps the crust soft initially, allowing the bread to expand (oven spring), before hardening into a crispy shell.
Flour Weight: Weighing your flour (approx. 130g per cup) is highly recommended for bread baking.
Storage: These are best eaten fresh. Store leftovers in a paper bag for 1 day, or slice and freeze for up to month. Toast to refresh.
- Prep Time: 25
- Cook Time: 30
- Category: Bread
- Method: Baking
- Cuisine: French
Nutrition
- Serving Size: 1/3 baguette
- Calories: 190
- Sugar: 4
- Sodium: 320
- Fat: 6
- Saturated Fat: 1
- Unsaturated Fat: 4
- Trans Fat: 0
- Carbohydrates: 32
- Fiber: 4
- Protein: 4
- Cholesterol: 0
Your Burning Questions Answered!
- Can I use a different gluten-free flour blend?
- Yes, you can use a different gluten-free flour blend, but make sure it’s a 1:1 substitute for all-purpose flour. Keep in mind that the texture and taste might vary slightly.
- Why do I need to add xanthan gum?
- Xanthan gum helps to mimic the elasticity and stickiness that gluten provides in traditional bread. If your gluten-free flour blend already contains xanthan gum, you can omit it.
Can I make these baguettes without a stand mixer?
Yes, you can mix the dough by hand, but it will require more effort to achieve the “whipped” texture. Make sure to mix vigorously to incorporate air into the dough.
Dig In & Enjoy!
There you have it! Delicious Gluten Free French Bread Baguettes that are crispy on the outside and soft on the inside. Whether you’re serving them with a hearty soup or using them to make sandwiches, these baguettes are sure to be a hit. So, go ahead, take a bite, and enjoy the fruits of your labor. For more delicious ideas, follow me on Pinterest.