Table of Contents
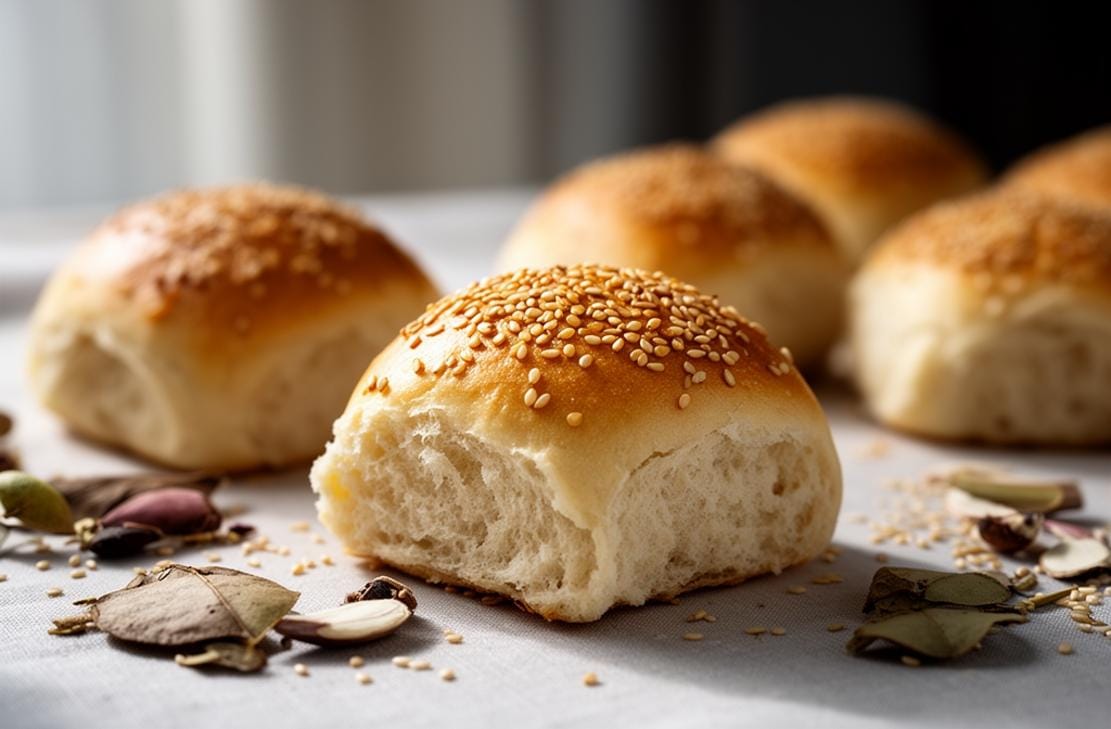
Discover the joy of baking with these fluffy, golden Yeast Dinner Rolls for Gluten-Free diet. Perfect for any meal, these rolls are soft, buttery, and utterly irresistible. Whether you’re new to gluten-free baking or a seasoned pro, this recipe will become a staple in your kitchen.
I remember the first time I tried to bake gluten-free rolls. The result was dense and crumbly, far from the soft, pillowy rolls I craved. After countless trials and errors, I finally perfected this recipe. Now, these Yeast Dinner Rolls for Gluten-Free diet are a hit at every family gathering, and I’m thrilled to share the secret with you.
Get ready to embark on a baking adventure that will fill your home with the comforting aroma of freshly baked bread. Let’s dive into the world of gluten-free baking and create something truly magical.
What to Expect
- Time: Approximately 2.5 hours (including proofing time)
- Difficulty: Moderate

Before You Begin
Before you start, ensure all your ingredients are at room temperature. This helps in achieving the perfect texture for your Yeast Dinner Rolls for a gluten-free diet. Also, make sure your yeast is fresh and active. A quick test in warm milk with a bit of sugar will confirm its viability.
Ingredients You’ll Need
| Ingredient | Quantity |
|---|---|
| Active dried yeast | 10 g (2½ tsp) (If using instant yeast, use 8g.) |
| Caster/superfine or granulated sugar, divided | 25 g (2 tbsp) |
| Whole milk, warm | 90 g (⅓ cup + 2 tsp) |
| Whole/rough psyllium husk | 10 g (2 tbsp) (If using psyllium husk powder, use only 8g.) |
| Warm water | 150 g (½ cup + 2 tbsp) |
| Tapioca starch | 160 g (1⅓ cups + 1 tbsp) (You can use an equal weight of arrowroot starch, cornstarch or potato starch instead.) |
| Millet flour, plus extra for flouring the surface | 130 g (¾ cup + 3½ tbsp) (You can use an equal weight of finely milled/ground brown rice flour instead, but your dinner rolls might be slightly less fluffy.) |
| Sorghum flour | 25 g (3 tbsp) (You can use an equal weight of light buckwheat flour, white teff flour or oat flour instead. Use the latter only if you’re not sensitive to oats.) |
| Xanthan gum | 5 g (2 tsp) |
| Salt | 5 g (1 tsp) |
| Baking powder | 8 g (2 tsp) |
| US large/UK medium egg, room temperature | 1 |
| Unsalted butter, melted | 20 g (1½ tbsp) |
| US large/UK medium egg, for egg wash | 1 |
| Salt | ¼ tsp |
| Salted butter, melted | 30 g (¼ stick) |
Step-by-Step Guide
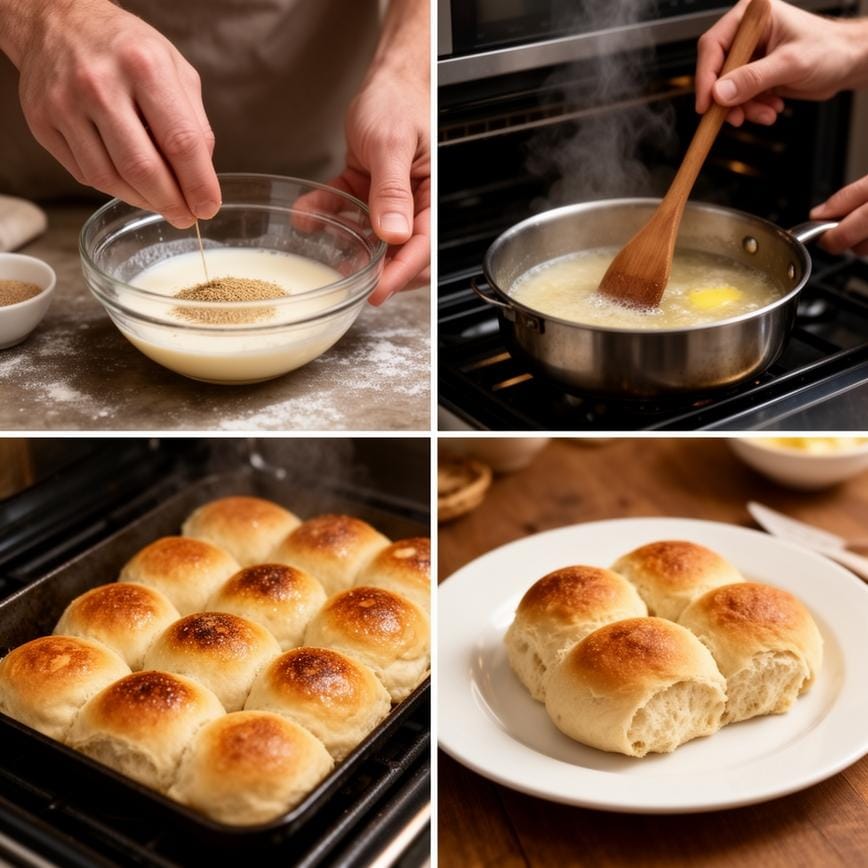
- Activate the yeast: In a small bowl, mix together the yeast, 10g (about 1 tablespoon) sugar and warm milk. Set aside for 10-15 minutes, or until the mixture starts frothing.
- Make the psyllium gel: In a separate bowl, mix together the psyllium husk and warm water. After about 30-45 seconds, a gel will form.
- Mix dry ingredients: In the bowl of a stand mixer, whisk together the tapioca starch, millet flour, sorghum flour, xanthan gum, salt, baking powder, and the remaining sugar.
- Combine wet and dry ingredients: Make a well in the middle of the dry ingredients and add the egg, melted butter, yeast mixture, and psyllium gel.
- Knead the dough: Knead the dough until smooth and all the ingredients are evenly incorporated, then knead for a further 5 minutes (if using a stand mixer) or 8-10 minutes (if kneading by hand).
- Shape the dinner rolls: Turn out the dough onto a lightly floured surface. Divide the dough into 9 equal pieces (each piece should weigh about 76g). Shape each piece into a ball.
- Proof the dinner rolls: Place the rolls in a prepared baking tin and proof in a warm place for about 1 hour or until about doubled in volume.
- Bake the dinner rolls: Preheat the oven to 375ºF (190ºC). Brush the rolls with egg wash and bake for about 20-22 minutes or until golden brown on top.
- Finish with butter: Immediately out of the oven, brush the rolls generously with melted salted butter.
Pointers for Perfection & How to Store
For the best results, ensure your yeast is fresh and active. If your kitchen is cold, proof the rolls in a lukewarm oven. These Yeast Dinner Rolls for Gluten-Free diet are best served hot or warm. Store them in a closed container for up to 2-3 days and reheat before serving. For more delicious ideas, check out this Gluten Free Starbucks Cheese Danish recipe.
Print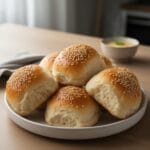
Yeast Dinner Rolls for Gluten-Free diet
- Total Time: 100
- Yield: 9 rolls 1x
- Diet: Gluten Free
Description
These Soft & Fluffy Gluten-Free Yeast Dinner Rolls are the real deal—tender, buttery, and perfect for soaking up gravy. Unlike dense gluten-free bread, these use a high-hydration dough enriched with egg and butter to create a light, airy texture that actually pulls apart. They are easy to make (no kneading required!) and essential for any holiday table.
Ingredients
— Dry Ingredients —
3 cups gluten-free all-purpose flour blend (Must contain xanthan gum; King Arthur Measure for Measure or Cup4Cup are best)
¼ cup granulated sugar
2 ¼ teaspoons (1 packet) instant rapid-rise yeast
1 teaspoon salt
1 teaspoon baking powder (helps give an extra lift)
— Wet Ingredients —
1 cup warm milk (110°F/43°C) – think bathwater temperature
¼ cup unsalted butter, melted and slightly cooled
2 large eggs, room temperature (beaten)
1 teaspoon apple cider vinegar (strengthens the dough structure)
— Topping —
2 tablespoons melted butter (for brushing after baking)
Instructions
1. Prepare the Pan: Grease a 9-inch round cake pan or square baking dish with butter or non-stick spray.
2. Mix Dry Ingredients: In the bowl of a stand mixer (fitted with the paddle attachment) or a large bowl, whisk together the gluten-free flour, sugar, instant yeast, salt, and baking powder.
3. Add Wet Ingredients: Pour in the warm milk, melted butter, beaten eggs, and apple cider vinegar.
4. Beat the Dough: Mix on medium-high speed for 3–5 minutes. This is crucial! Unlike wheat dough, you cannot ‘overmix’ gluten-free dough. This step aerates the batter and hydrates the flour. The dough will be thick, sticky, and resemble heavy cake batter—do not try to knead it by hand.
5. Shape: Use a large cookie scoop or a measuring cup (greased) to scoop the dough into 9 even mounds. Drop them directly into the prepared pan, spacing them slightly apart (they will touch as they rise).
6. Smooth Tops: Dip your fingers in warm water and gently smooth out the tops of the rolls to remove any jagged peaks.
7. Rise: Cover the pan loosely with greased plastic wrap or a warm damp towel. Place in a warm, draft-free spot (like inside a turned-off oven with the light on) for 45–60 minutes. The rolls should puff up and double in size.
8. Preheat: While the rolls rise, preheat your oven to 375°F (190°C).
9. Bake: Remove plastic wrap. Bake the rolls for 20–25 minutes, or until the tops are golden brown and they sound hollow when tapped. (Internal temperature should reach 205°F).
10. Finish: Remove from the oven and immediately brush the hot rolls with the 2 tablespoons of melted butter. Let them cool in the pan for 10 minutes before serving warm.
Notes
Yeast Tip: Instant (Rapid Rise) yeast is highly recommended for gluten-free baking as it works faster and requires only one rise. If using Active Dry yeast, proof it in the warm milk with a pinch of sugar for 5 minutes before adding.
Texture: Do not add more flour if the dough is sticky! Gluten-free yeast dough relies on high moisture to create steam and lift. If you dry it out, the rolls will be rock hard.
Make Ahead: You can bake these a day in advance. Wrap tightly and store at room temperature. Reheat in a 300°F oven for 5-10 minutes to soften them up again.
Dairy-Free: Use almond milk and vegan butter (or oil) to make this recipe dairy-free.
- Prep Time: 15
- Cook Time: 25
- Category: Bread
- Method: Baking
- Cuisine: American
Nutrition
- Serving Size: 1 roll
- Calories: 190
- Sugar: 6
- Sodium: 280
- Fat: 7
- Saturated Fat: 4
- Unsaturated Fat: 2
- Trans Fat: 0
- Carbohydrates: 30
- Fiber: 2
- Protein: 4
- Cholesterol: 45
Your Burning Questions Answered!
- Can I use a different type of flour?
- Yes, you can substitute millet flour with finely milled brown rice flour, but the rolls might be slightly less fluffy.
- How do I know when the rolls are done?
- Insert a toothpick or skewer into the center of a roll; it should come out clean with no under-baked dough attached.
Can I make these rolls ahead of time?
Yes, you can prepare the dough and refrigerate it overnight. Shape and bake the rolls the next day
Dig In & Enjoy!
There you have it—perfect Yeast Dinner Rolls for Gluten-Free diet that are soft, fluffy, and delicious. Whether you’re serving them with a hearty stew or enjoying them on their own, these rolls are sure to impress. Happy baking!
For more delicious ideas, follow me on Pinterest.